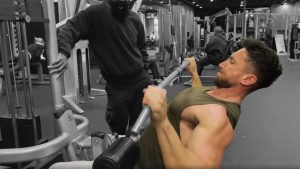
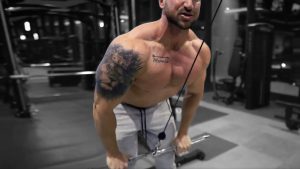
The lats are one of the back's major muscles - they are the glue that keeps your back straight and big! Without them, you can't move your arms, and your spine will be pretty wobbly! Barbell rows were made to grow those lats for a bigger and stronger back. Here is the low down on the row!
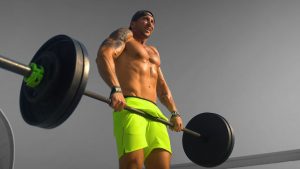
Performing The Pro Barbell Bent-Over Row
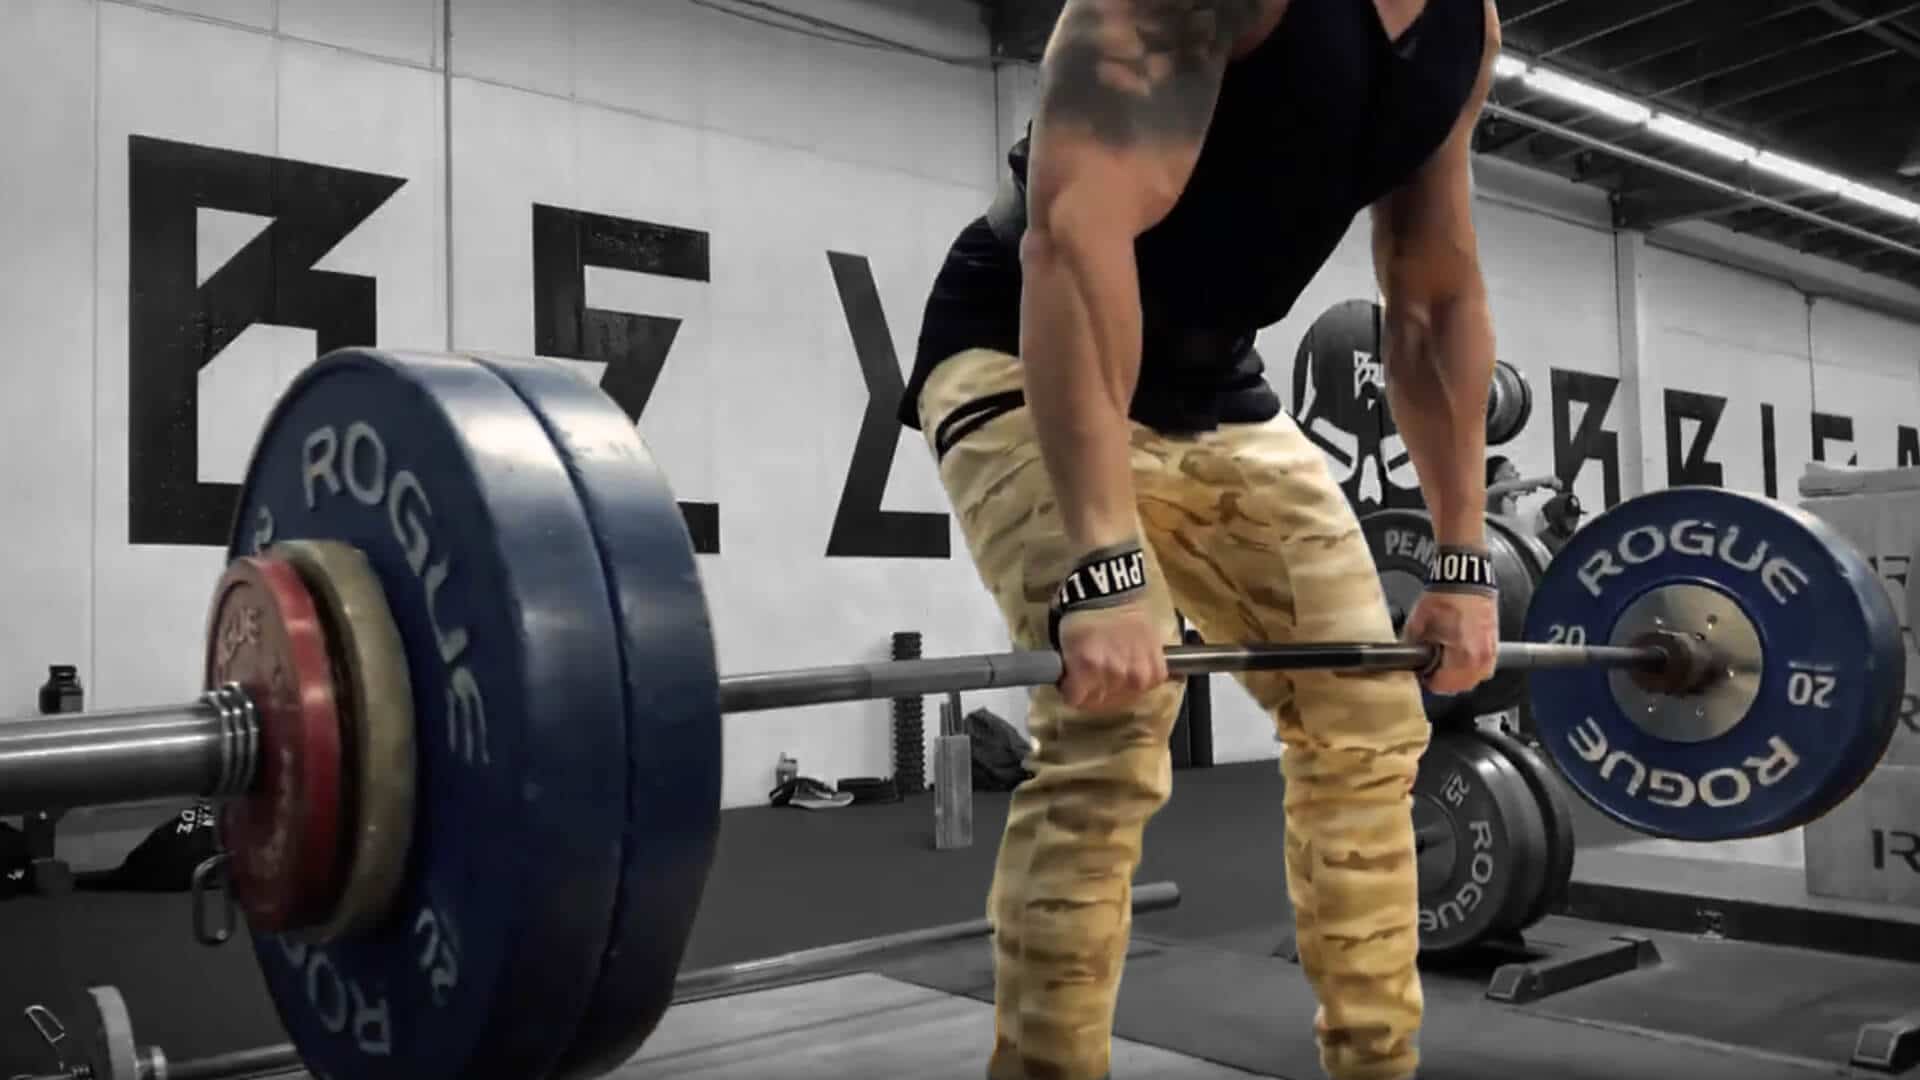
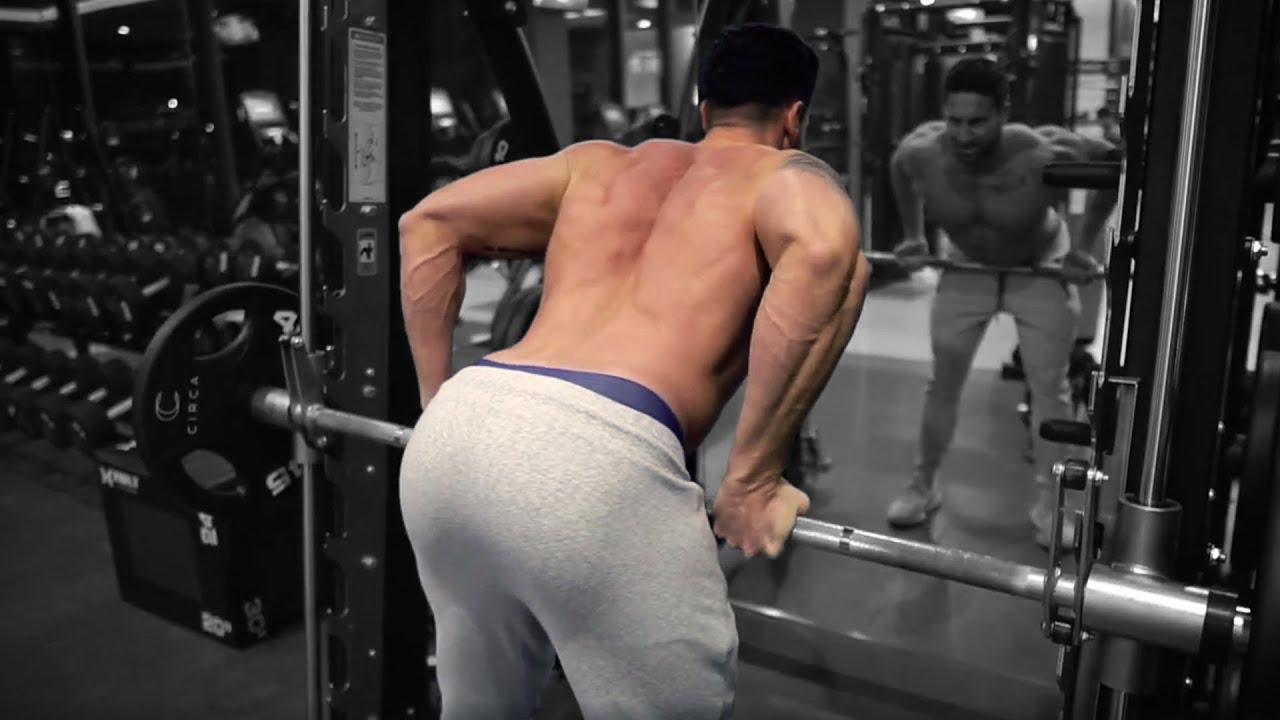
- 1Standing in front of the smith machine, place the barbell on this lowest bar pin.
- 2Stand with your feet shoulder-width apart, with a slight bend in the knees. If your feet are too close together, you risk losing stability.
- 3Standing behind the bar, grip it with your hands at shoulder-width, with an underhand grip.
- 4Slowly unhook the bar and begin bending over into a high sitting position - your torso should be parallel to the ground.
- 5You should slightly arch your back, shoulders back and down, and your butt out.
- 6Keep your torso firm and in one place without moving it up. Row the barbell, pull the bar up to the lowest part of your abdomen. Think of it like bringing the bar to your belly button.
- 7Your knees shouldn't move past your toes while rowing. That is a checkpoint - if your knees cover the toes, correct your form.
- 8Slowly release the bar back down to the length of your arms to the starting position.
- 9Repeat for 3 sets of reps.
- 10For a challenging row, increase the weight in between sets.
Muscles Targeted & Secondary Areas
Barbell rows primarily target the mid and upper back muscles. The latissimus dorsi muscles are also known as lats and the rhomboids. The lats are part of the lower to mid-back; they are the biggest back muscle and have a lot of influence over pulling exercises. They keep your posture intact and spread the bulk of strength across the back. The rhomboids keep your shoulder blades together.
Barbell rows secondarily target the arms, namely the biceps and forearms, the core, such as the abs, and other back muscles like the rear deltoids, traps, and smaller muscle groups in the back. These muscles are stabilizers; without them, your body would not be able to stand straight.
Suggested Warm-Up
Warming up is integral to getting the best out of your workout. Without a warm-up, you risk injury and not reaping the best benefits your exercises have to offer. Add these to your warm-up to activate the upper back and lats.
Banded pull apart
- 1Stand with a resistance band, holding one end in each hand.
- 2Raise your arms up to shoulder height and pull them apart until your furthest point.
- 3Hold the stretch for at least 10 seconds.
- 4Slowly release your hands back to the front.
- 5Repeat for 10 reps.
Mountain climbers
- 1Get into a plank position on a mat. Your arms should be straight.
- 2Bring a knee up to your chest and lower back down.
- 3Bring the other knee up to meet your chest. This completes one cycle.
- 4Increase the speed at which you perform these.
- 5You should try to get at least 40 seconds in moderate intensity.
Superset it!
For anyone that is pressed for time or wants to maximize gains, there is the superset method. There are two ways to superset an exercise: the first is by increasing weights, the second is by adding in another exercise between sets. This creates a circuit with less resting time between sets and maximum gains. You trick your mind and body into going harder, making it easier for you to get your complete reps in every set.
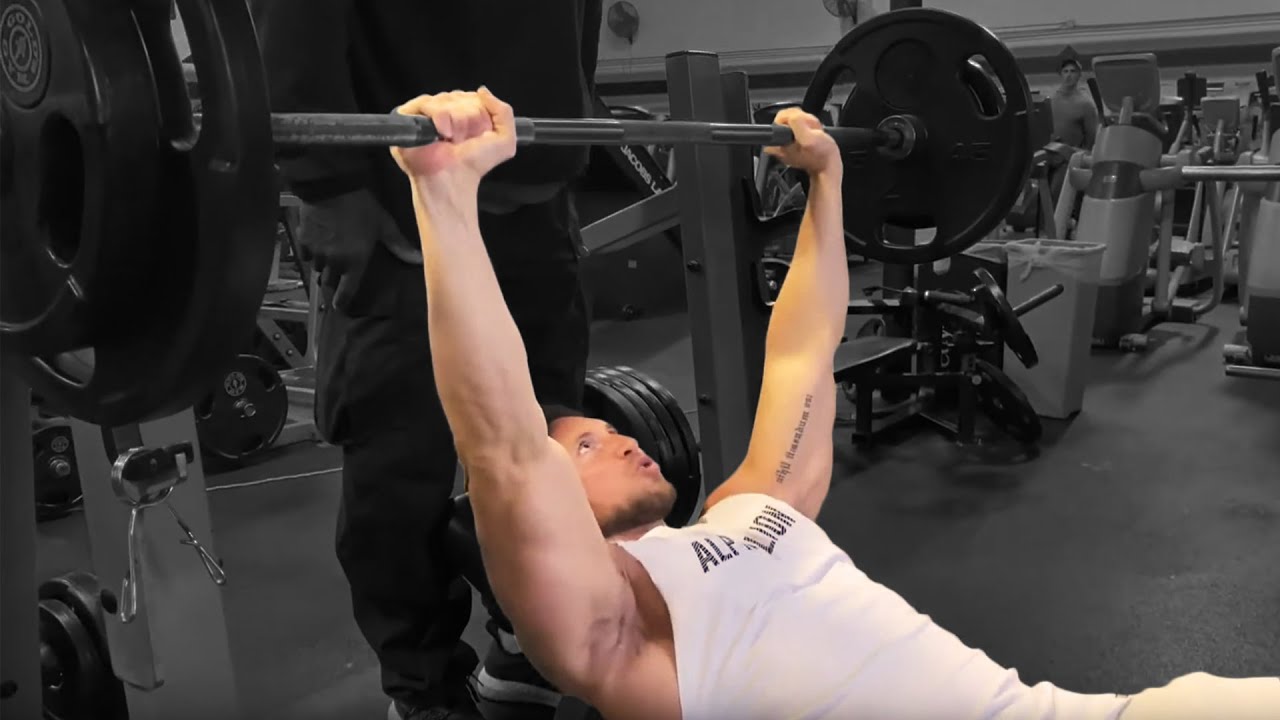
Bench press
Add a bench press directly after your first bent-over row set. Here is how to bench press like a pro:
- 1Lying flat on a bench, keep your feet firmly planted on the floor.
- 2Grip the barbell - your hands should be slightly wider than shoulder-width apart.
- 3Slowly bring the bar down to your chest while you inhale.
- 4Begin pushing the bar up as you exhale, grip the bar hard and focus on a spot on the ceiling.
- 5Once at the top, squeeze for a full count of one.
- 6Slowly return to the starting position.
Upright row
The upright row is just as formidable as the barbell bent-over row. Here's how to do it properly, with the help of a smith machine:
- 1Stand in front of the smith machine, unrack the bar.
- 2Stand with your feet shoulder-width apart, with a slight bend in the knees for stability.
- 3Standing behind the bar, grip it with your hands at shoulder-width, with an underhand grip.
- 4Slowly unrack the bar.
- 5Begin pulling up to bring the bar to slightly below your shoulders.
- 6Slowly lower the bar, maintaining a steady motion as you release the bar back down to the length of your arms to the starting position.
- 7Repeat for 3 sets of reps.
- 8List Tip: Don't lean back or forward - keep your core engaged and stable.
Dumbbell flyes
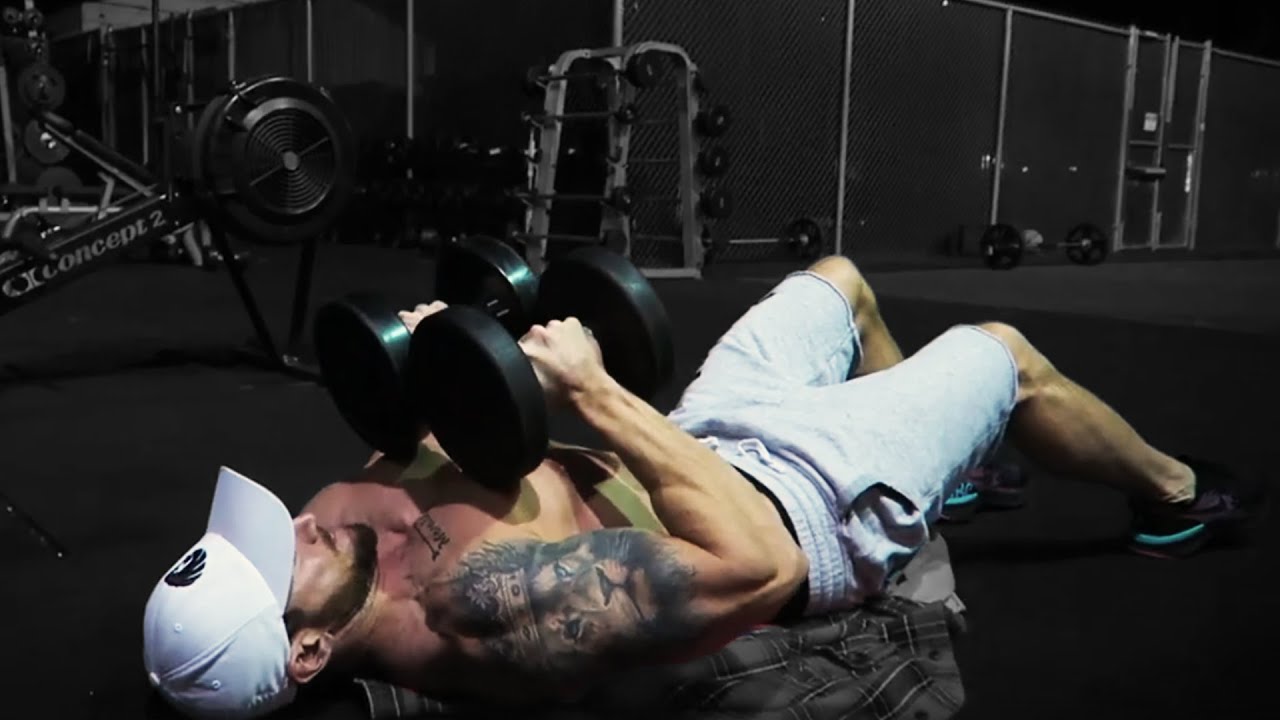
These are the perfect companion for upper body destruction. Try throwing a set of these in between each barbell row.
- 1Lying flat on the bench, the bench should support your back, neck, and shoulders. Keep your back flat and firmly pressed into the bench.
- 2Hold the weights above your chest, palms facing each other, then lower the weights in an arc out to each side of your body far as you can.
- 3Hold the weights above your chest, palms facing each other, then lower the weights in an arc out to each side of your body far as you can.
- 4Engaging your pectoral muscles, slowly reverse the movement, raising the dumbbells above your chest - squeeze your pecs as you reach the top. Don't touch the dumbbells together - squeeze before they are too close together.
- 5Keep your elbows slightly bent throughout, and don't arch your back.
- 6Repeat 3 sets of 10 - 15 reps. Rest for 60 seconds in between sets.
Increase weights
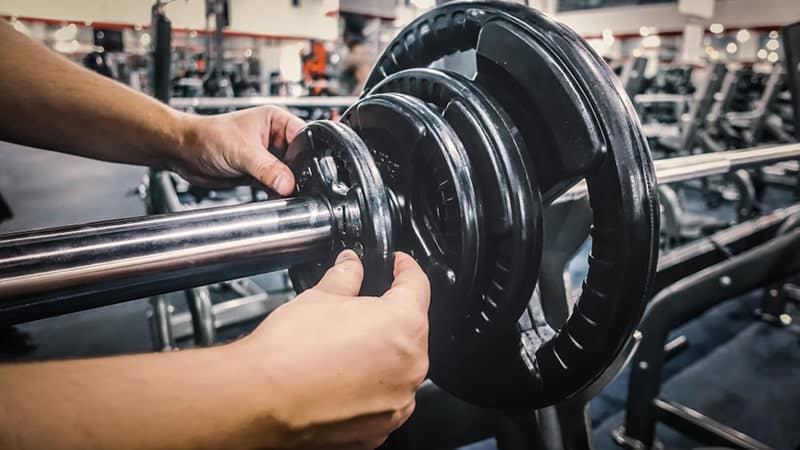
The other superset method involves increasing the weights as you move through your sets. That doesn't mean starting on the lightest. You should still get a good workout from the first set. Adding on additional weight after each set will help you get those muscles on fire.
You will feel the burn as you are pulling the bar up towards you. Just pick a spot on the floor and go for it. You can do this! You might be surprised at what your body is capable of if you put your mind to it. Start at a weight you are comfortable with, row the bar, and take it from there.
Famous Rows
It should come as no surprise that Thor himself reaps the benefits of this full-body exercise. Well, Chris Hemsworth's trainer, Luke Zocchi, has included a variety of rows into the actor's strict training regime.
From bent-over rows to kettlebell rows, and even a dumbbell renegade row. It is clear to see why he is in such great shape!
The Benefits
Let's talk about the benefits of adding a bent-over row to your routine.
Mistakes & Tips
Row Variations & Alternatives
Looking for a few alternatives or variations? You’ve found them! It is vital to take note of these for days when you need to realign, rebalance or go a little easier on a specific muscle group.
Loose barbell row
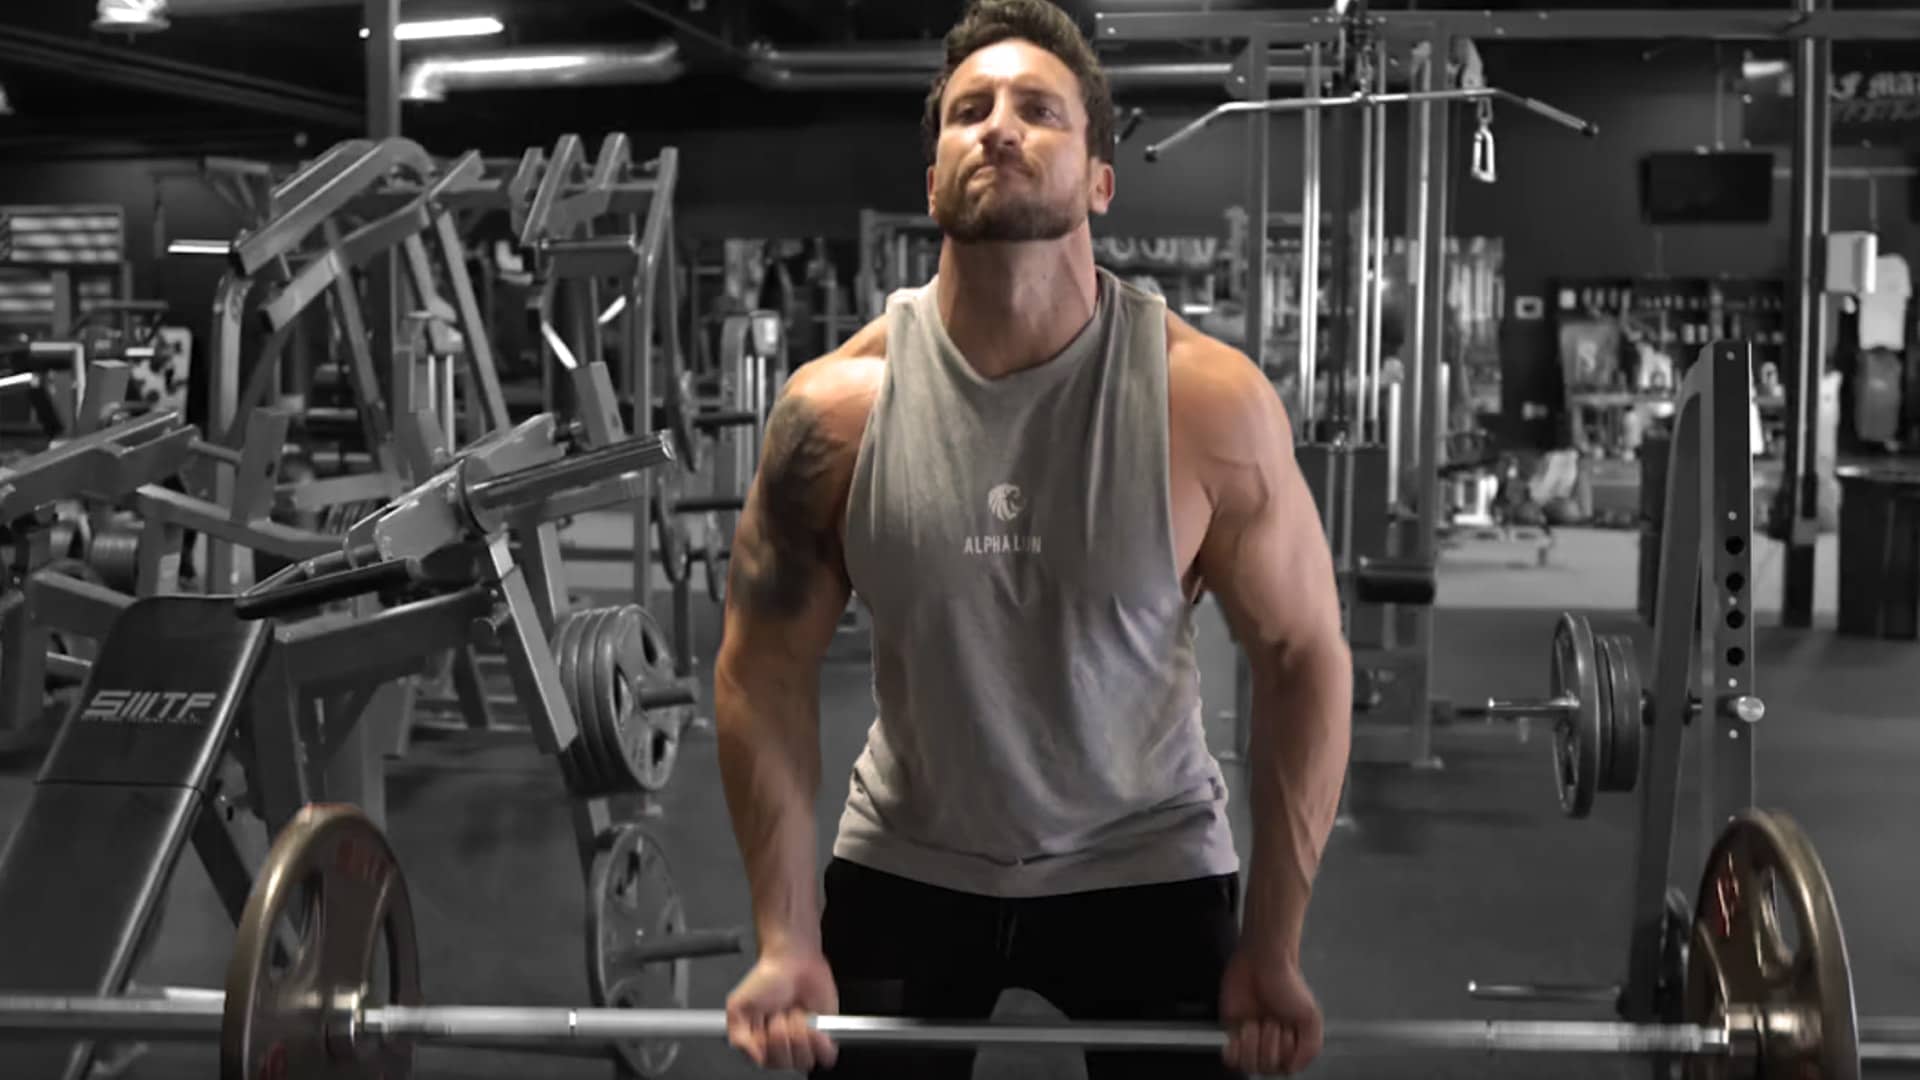
You don't need a Smith machine for rowing; you can use a barbell or an EZ-bar. Your range of motion will increase with an EZ-bar as it is curved.
It is best to perfect your form and rowing technique before progressing onto a row with a loose barbell. Any lifter will be able to tell you that technique and form are more important than the amount of weight you load on. If neither is correct, you won't see results.
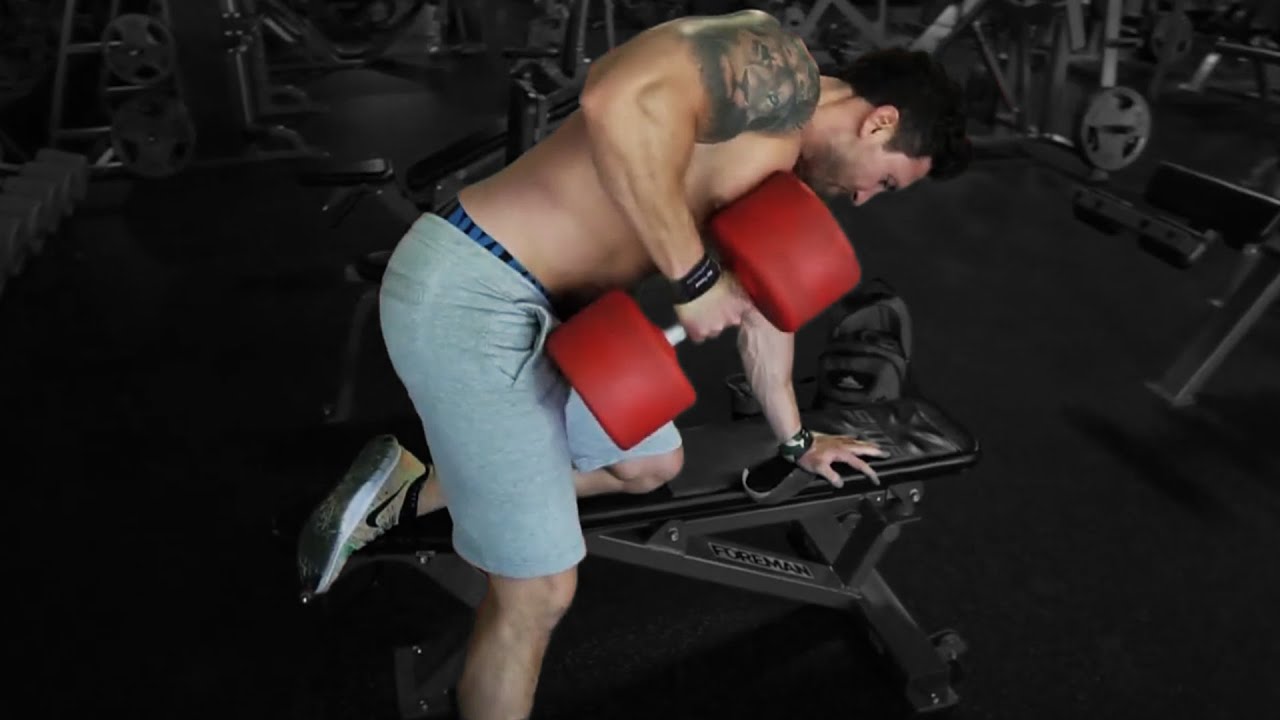
Single-arm dumbbell row
Jumping straight into a bent-over row when you have previous injuries is not always advisable; try one arm dumbbell rows to improve muscle balance between arms. Adjust the weight sets between the arms until you reach equilibrium and are on the same weight set.
- 1Start by standing, hold a dumbbell in your right hand with a neutral grip.
- 2Hinge forward at the hips - your torso should be parallel to the ground.
- 3If you struggle to balance, place the right foot backward in the start of a shallow lunge, hold onto a bench in front of you for additional support.
- 4Begin the row, pull the weight up by driving the elbow backward, behind the body.
- 5Concentrate on retracting your shoulder blades.
- 6Once entirely pulled back, slowly lower your arm.
- 7You will feel this in your upper arms and lats.
- 8Repeat on each arm for the same amount of reps.
Reverse grip row
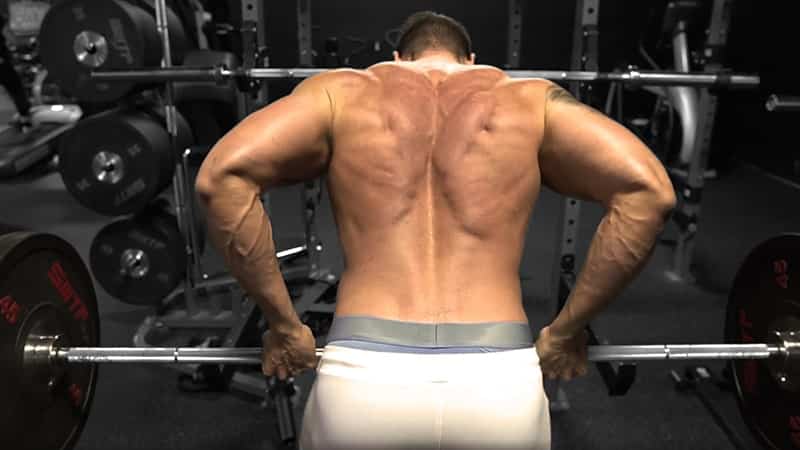
Much in the same way you perform a row, change your grip for this reverse grip row. These rows are great for biceps as they have a more direct targeting as well as a bias on the upper back.
- 1Load your barbell and place it down in front of you.
- 2Standing with your feet at shoulder-width apart, bend at your knees and squat down, grip the barbell with a reverse grip - your thumbs should be on top of the bar.
- 3Ensure that your back is straight and your core engaged. Move up to a standing position - the bar should be in front of you, resting against your waist.
- 4Bend your knees slightly to get into the starting position. Keep your back straight and slide the bar down your thighs until it is just below knee level. Your back should remain straight.
- 5Lift the barbell to just beneath your chest, squeeze your shoulder blades together.
- 6Then slowly begin lowering the bar back to the starting position.
Inverted row
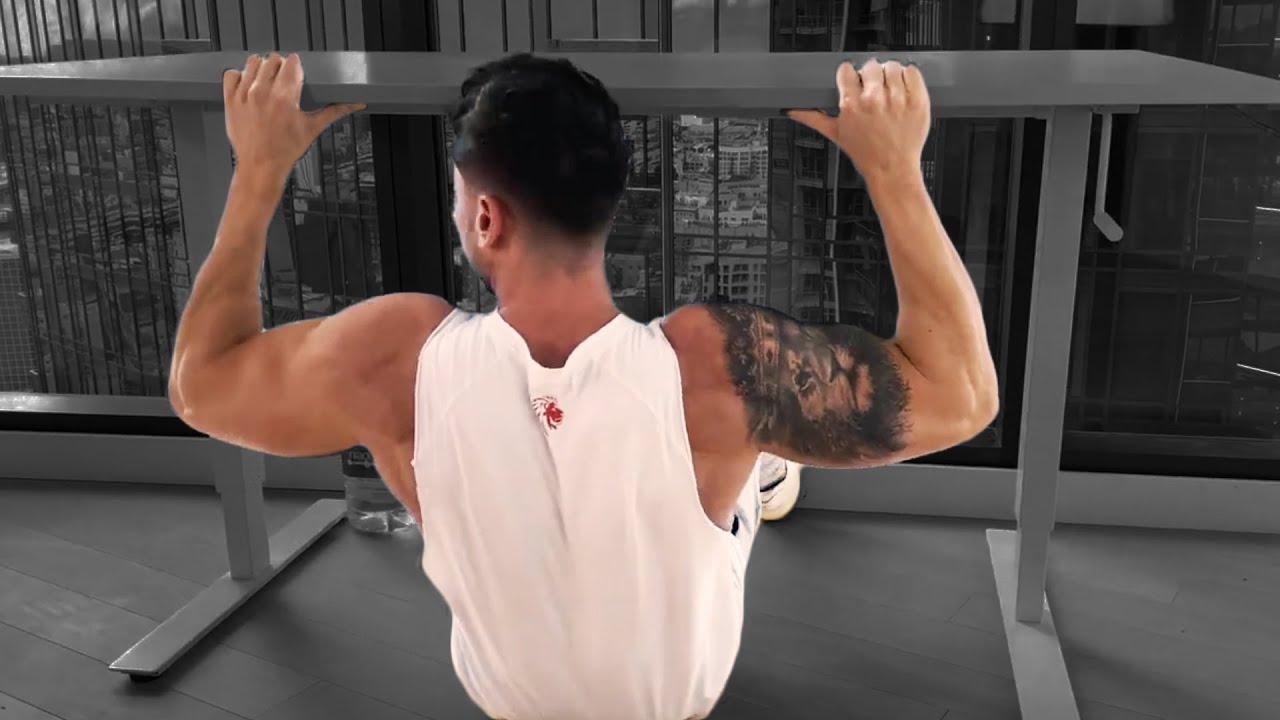
These bodyweight rows are excellent and work well if you have a pull-up bar at home and can't make the gym.
- 1Set the pull-up bar at waist height or slightly lower. Alternatively, you can use your desk or table if you don't have a pull-up bar.
- 2Lie face up beneath the bar on the floor.
- 3Grip the bar with an overhand grip - your arms should be slightly wider than shoulder-width. Face your palms away from your body.
- 4Engage your abs and butt, feel the contraction. Your body should be completely straight. Think of it as an upside-down plank position, every inch of your body aligned.
- 5Begin pulling yourself up until your chest touches the bar.
- 6Lower yourself back down, maintaining control. Just dropping your body down would risk injury to your elbow joints.
Pendlay row
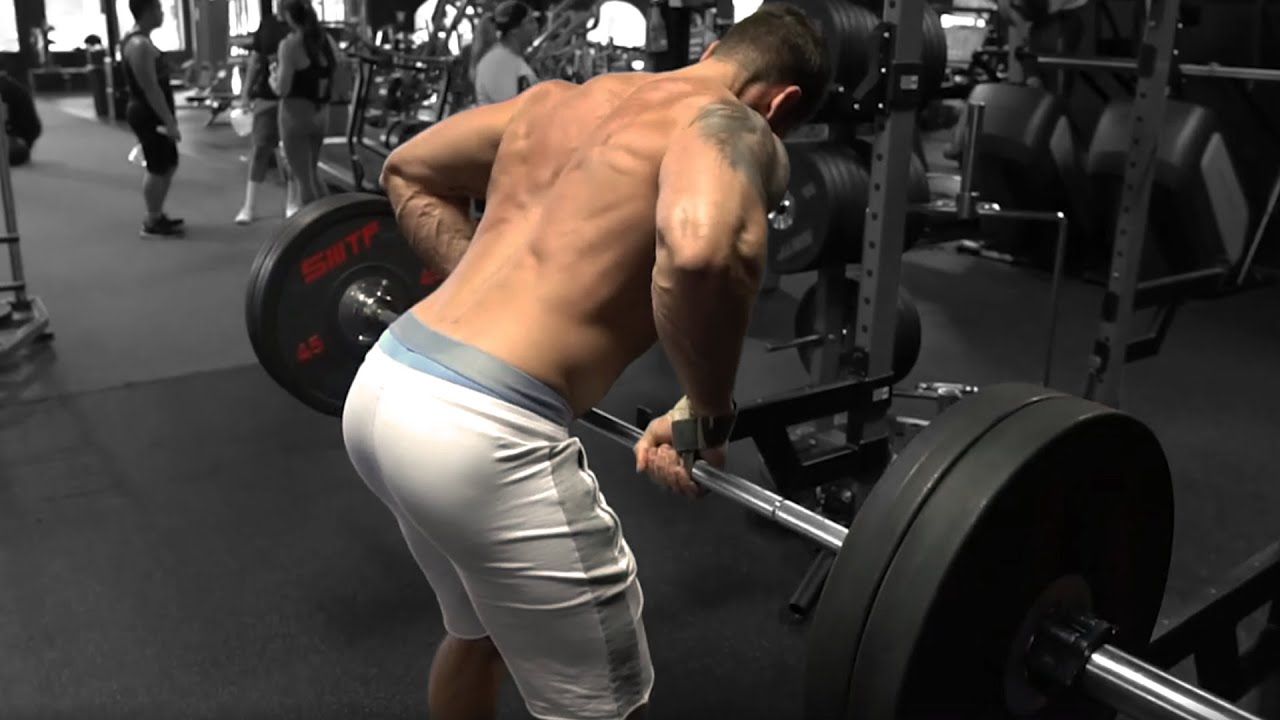
Stronger lifts and a bigger back are the benefits of a Pendlay row.
These bodyweight rows are excellent and work well if you have a pull-up bar at home and can't make the gym.
- 1Standing at your bar, your feet should be about shoulder-width apart, with the middle of your feet directly underneath the bar. Think of it as similar to the deadlift setup.
- 2Bending over at the hips, grab the barbell.
- 3Hinging your hips back, start lifting the barbell up. The weight should reach your knees.
- 4Brace and engage your core and keep your spine in a neutral position.
- 5Begin lifting the weight up to the lower chest area, and hold a count of 2. Make sure you are squeezing your shoulder blades tightly together.
- 6Slowly control the muscles as you lower the weight - you should fully extend your arms.
The Bigger Back Shortcut
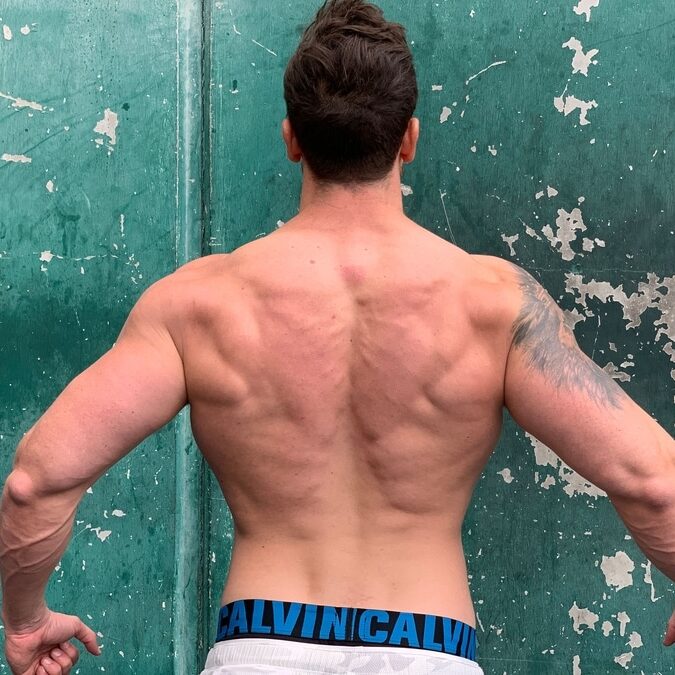
By now, it should be clear that the bent-over row is perhaps one of the most essential exercises for a bigger, better, and healthier back. Looking after your back health now saves you trouble in later years.
Alongside the core, the back is perhaps one of the most important parts of the body. The core delivers stability and balance between the upper and lower body. The back is key to keeping your body pain-free and stronger for longer.
Desk lifestyles can destroy the back's integrity and create stress in the neck area, making the bent-over row one of the most important back exercises. Even if you are training for aesthetics alone, this is one you cannot skip out on!

