Every guy who picks up a weight wants to pack on as much muscle mass as fast as possible. Most of them fail miserably. Despite training hard, or at least doing what they think is training hard, they struggle to make any real traction. They remain stuck in a rut, fighting desperately for every single ounce of muscle gain.
Why so much muscle gain failure?
It's simple - 99% of people who are working out to build muscle are neglecting the 3 key principles of muscle building. Without cementing these 3 pillars as the foundation of your workouts, you will never get anywhere near to your genetic potential to build muscle. The bottom line is that you can only build muscle in 3 ways.
How To Build Muscle Fast
When it comes to working out to build muscle, there are only 3 ways to do it. Most guys who are training to pack on muscle are just barely tapping into one of them - if they're lucky! Yet, these 3 principles are the only 3 science-backed ways to pack on serious mass fast. By the end of this article, you will know exactly how to incorporate all 3 of them into your workout program.
So, what are these 3 fundamental muscle-building laws?
Let's open the hood on each of them to discover what you need to do to get maximum potential to build muscle.
Law #1: Mechanical Tension
Mechanical tension is just a fancy way of saying lift heavier weights. If you think that you already are doing that, think again. To build real muscle faster, you need to be working in the 4-8 rep range at 80-90% of your one rep max. Not many guys are doing that. The majority of them bottom out around 8 reps. That is not heavy enough to provide the mechanical tension that your body needs for serious muscle growth.

Mechanical tension, however, is not just about lifting heavy and strength training; it is about lifting heavy strictly. If you pack the weight on the bar but end up using a sloppy form, momentum, and restricted range of motion to get that weight up, then you are wasting your time. In fact, it's worse than that; your bad form is putting you in line for an injury that could curtail your muscle-building efforts for months!
The first thing you need to do when you walk into the gym is to leave your ego at the door. Forget about trying to impress others or lifting more than your training partner. Your muscle has no idea how much weight you've got on the end of the bar. All it knows is how much mechanical tension it is receiving. A 40-pound alternate dumbbell curl with strict form will provide a lot more mechanical tension than one with 65 pounds that requires momentum and backswing to get the weight up.
Mechanical Tension in Action
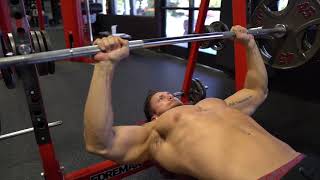
Mechanical tension requires you to train in the 4-8 rep range, with a resistance that is at 80-90% of your one rep max. Let's take the example of the bench press to see what this looks like.
If your one rep max on the bench is 275 pounds, then your working set range should be between 225 and 245 pounds.
You should perform 3-5 sets depending on the exercise you are doing. Pyramid up to maximum sets at 4 reps. Here is an example of what your bench press workout should look like:
These mega-heavy sets that you need for serious muscle growth require total focus. To ensure that you are totally focused and physically recovered from the previous set, you should rest longer than you normally would between sets. I recommend resting for two and half minutes between sets.
The best exercises for your heavy mechanical tension training are the big compound moves that are generally considered to be the foundational moves to build muscle. They are the:
Law #2: Metabolic Stress
Metabolic stress is all about time under tension, muscle activation, and achieving a pump effect in the muscle. To achieve it, you need to make use of lighter weights and higher reps. In this regard, it is the mirror opposite to Law #1. In fact we can consider metabolic stress to be the yin to mechanical tension's yang. They are not exclusive to each other. Instead, they work together to build muscle faster.
After all, if you only trained in the 4-8 rep range to take advantage of mechanical tension, you would be unrecognizable from the guys who are working out with the goal of becoming powerlifters. Metabolic stress is what will make you a bodybuilder.

To train for metabolic stress, you should train in the 12-20 rep range for 3-5 sets. Your goal when training for metabolic stress is to maintain as much time under tension on the working muscle during the set. Your goal should be for the muscle to be under tension for 45 seconds per set. That is close to double what most guys take to do a set.
In order to extend that tension time, slow down on both the concentric and the eccentric portions of the rep (more on eccentric training in the next section). You should also avoid locking out between reps. Your rest between sets should be kept to between 30-60 seconds.
You can perform metabolic stress sets with any exercise, including the mass builders that you are using for mechanical tension training.
Law #3: Muscle Damage
The muscle soreness that you feel the day after your workout is a good thing. It is a signal that you have succeeded in creating muscle damage. That muscle damage has resulted in micro-tears in the muscle fiber. It is then up to you to provide the metabolic and nutritional environment for those muscle fibers to grow back bigger and stronger than they were before your workout.
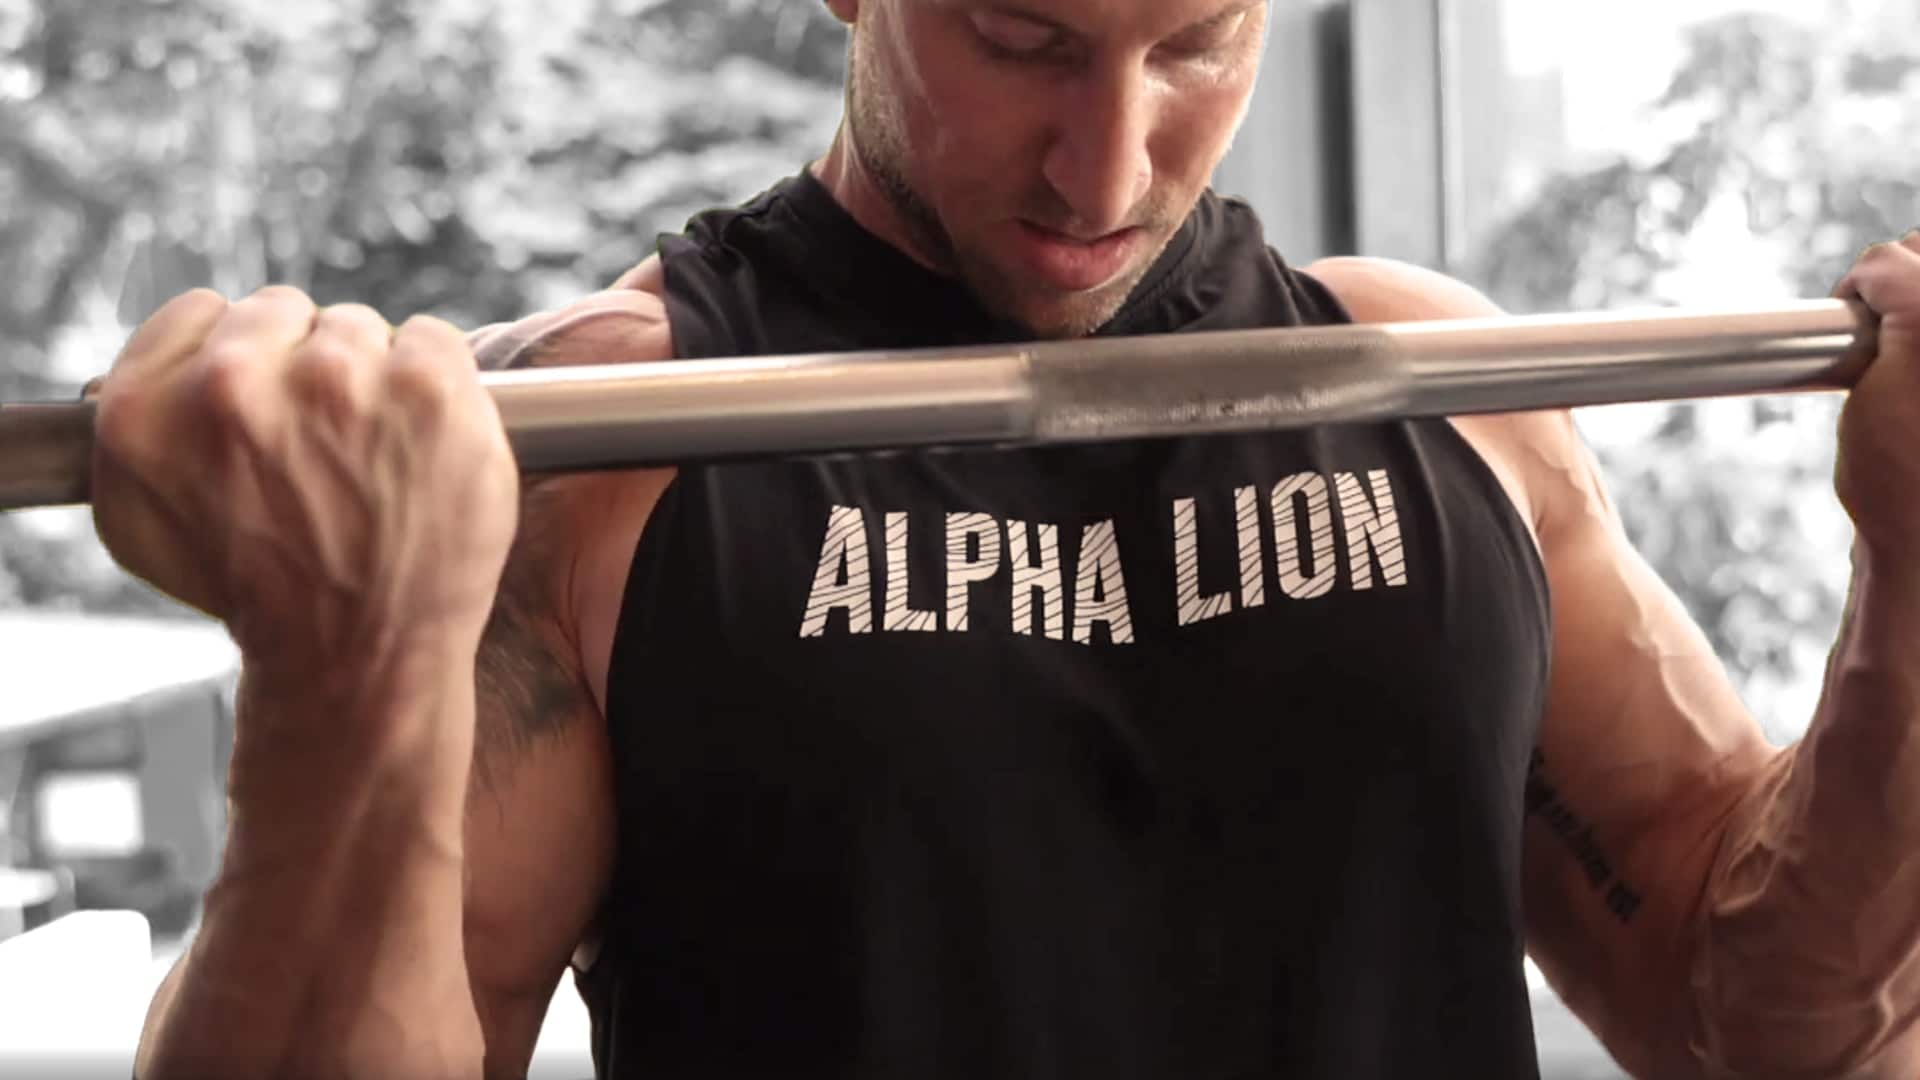
The first time you walked into the gym and picked up a weight, you were able to create that sort of muscle damage simply by picking up a weight. That's because you were introducing a completely new type of stress to your body. If you remember back, you will probably recall that you couldn't even straighten your arms the few days after you did your first set of barbell curls.
Now, years later, your body is well adapted to the workouts that you are doing. If you continue doing the same thing, with the same weights and reps, you will not be giving it a reason to adapt; it already adapted to that workout long ago. In order to create the type of muscle damage that you need to cause the micro-tears in your muscle fibers that you need for building muscle, you need to keep pushing the intensity of your workouts.
There are a number of strategies you can do to keep pushing the intensity of your workouts. One of the best and one that has done wonders for me, is eccentric training. To appreciate how eccentric training can benefit you, we need to understand a little more about the make-up of your muscle fibers.
Your Muscle Fibers
Just like we have different muscle groups in our body, such as the biceps, and triceps, each muscle group has different types of fibers:

As you move along the spectrum, each type exerts progressively more force and has progressively less endurance.
When we exercise smart, we learn to use specific types of exercise that allow us, as safely as possible, to activate all of our muscle fibers together; Type 1, Type 2A, 2X, and 2B.
When we are able to exercise in such a way as to work all of these fibers together, we get three major benefits:
If that last benefit sounds too good to be true, consider this . . .
In a study with rodents, researchers took rats and genetically engineered them to have more Type B muscle fibers. They then fed them with all manner of low-quality foods. The results revealed that the rats were unable to gain weight or show diabetic symptoms.
Now, the interesting thing is that, in order to activate your Type 2B muscle fibers, you need to increase the intensity of your training. There is no amount of low-intensity, high-quantity training that will do it.
Eccentric training will allow you to activate all of your muscle fibers. You’ll be able to do it completely safely, and you don’t have to join a gym to do it. In fact, you can do this training anywhere, and at any time.
Eccentric Training
Whenever you do an exercise there are two phases of muscle contraction:
Most people give most of their focus to the concentric contraction. Focusing on the eccentric phase has some major benefits:
When most people do a set of 10 reps on an exercise, such as the bench press, it takes them between about 15-20 seconds to complete them. Yet, science tells us that the ideal time under tension for a set is 40-60 seconds. That means that the vast majority of people are drastically shortchanging themselves – their workouts are only half as long as they need to be!
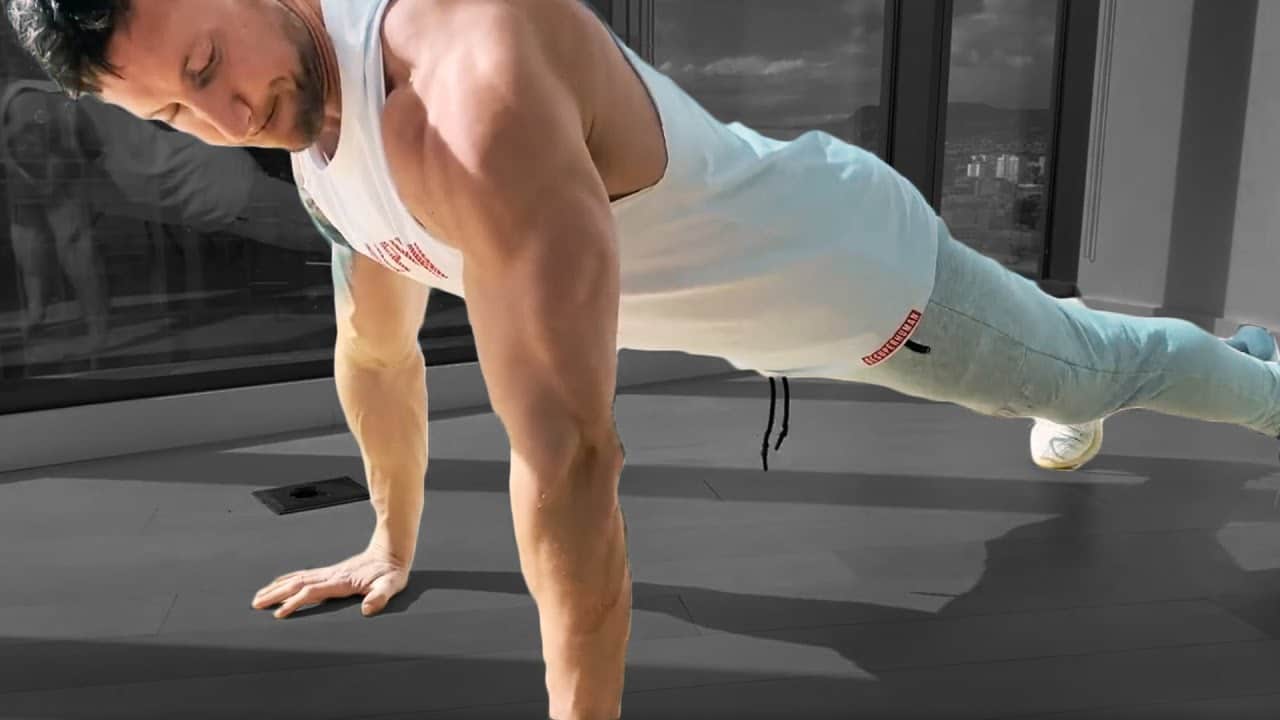
The eccentric phase of an exercise is often when you are lowering the resistance. For instance, the eccentric phase of the barbell curl is when you lower the bar. The eccentric phase of a push-up is when you lower yourself down to the ground.
When you make the effort to do the exercise, do you want to end up with, at best, 50% of the potential benefit? Of course not!
So, how do you increase the time under tension of your set?
Simple – you slow down the eccentric part of the exercise. By focusing on the eccentric part of the rep and taking more time, you will be revolutionizing your training. You will be focusing on the quality of your exercise, rather than the quality.
With eccentric training, you will follow this training cadence:
This 1-1-10 exercise cadence is the first key to eccentric contraction.
The second key to successful eccentric training involves the amount of resistance that you are lifting. It involves selecting a level of resistance that is too heavy for us to lift with either one arm or one leg.
You are stronger on the eccentric part of a lift than you are on the concentric part. Think about it – you can lower a heavier weight than you can lift. And science has shown that it is the lifting of heavy weight that activates all of the muscle fibers, including the elusive Type 2B.
So, how do you do it?
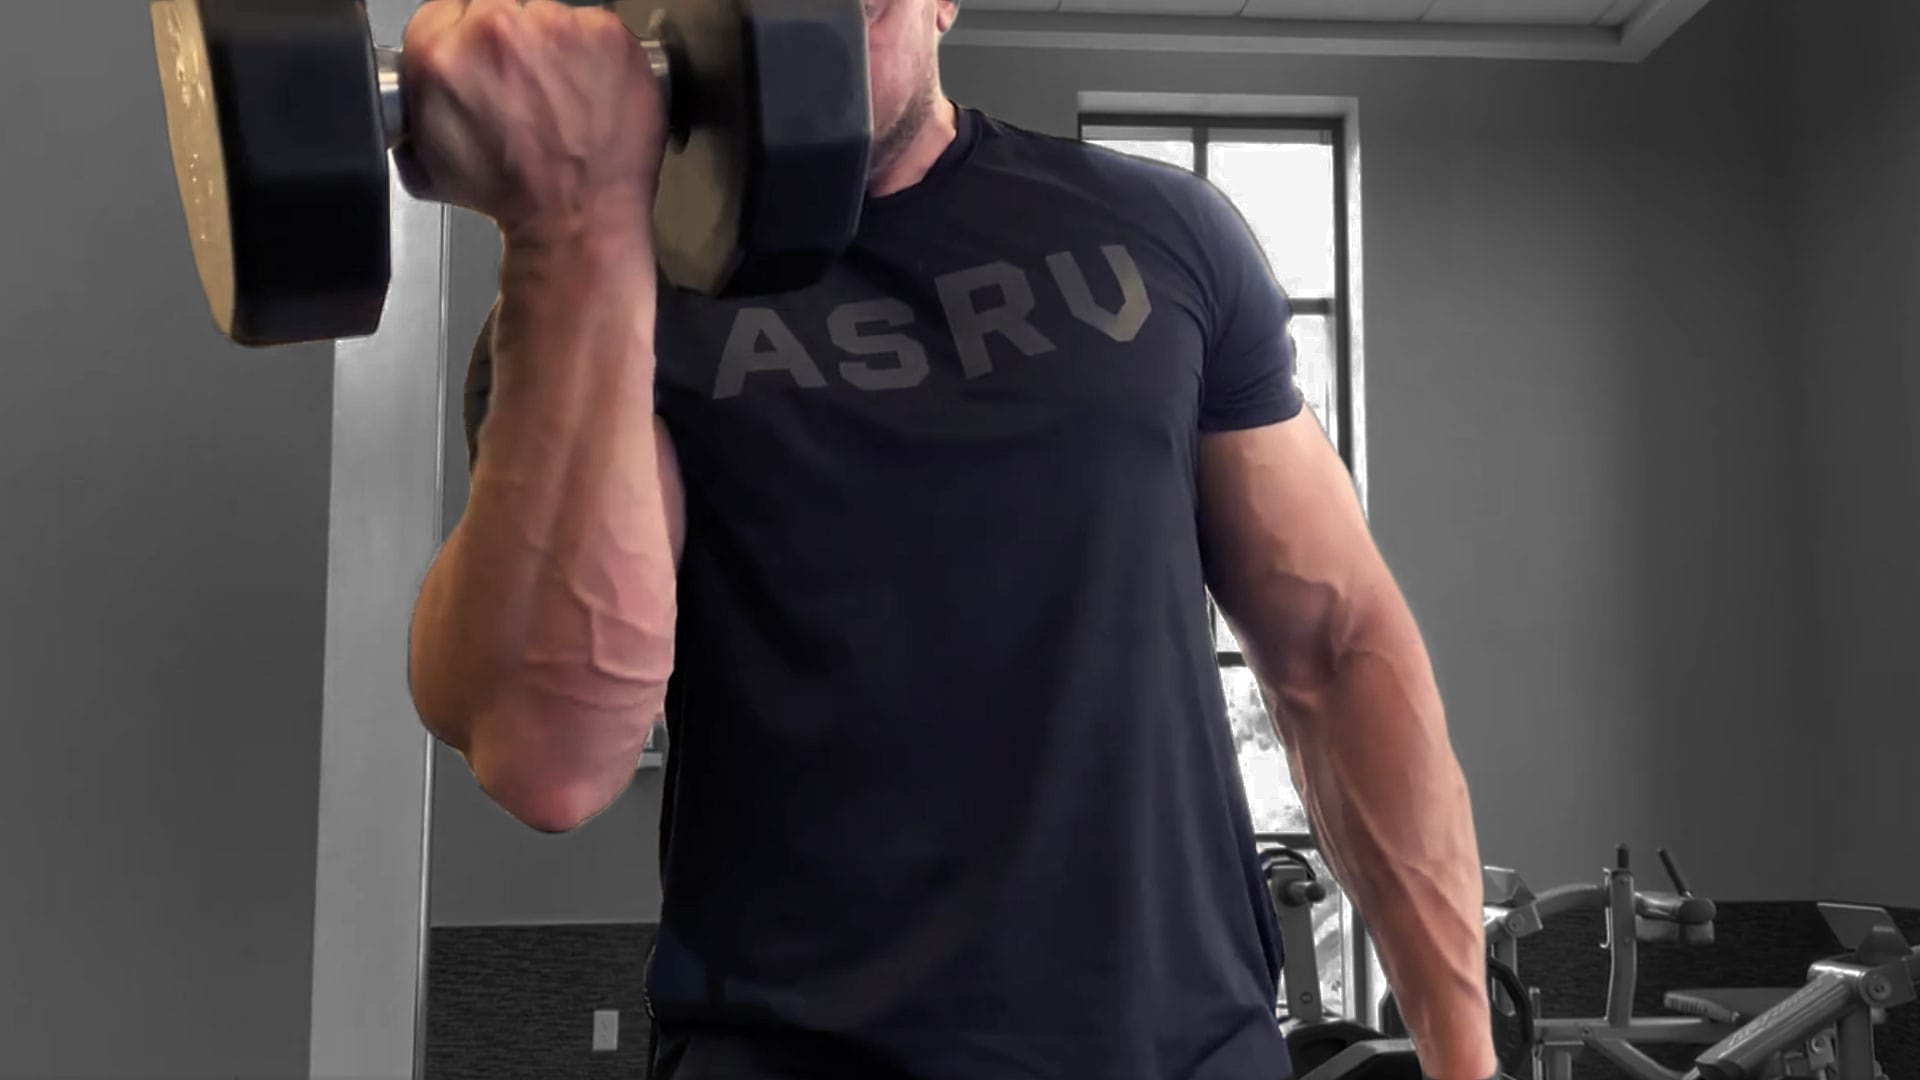
Let’s say that you are doing a dumbbell curl. Grab hold of the dumbbell with both hands. Curl it up to the level of your upper chest. Now take one hand away and slowly, and under control lower the weight.
Remember to take 10 seconds to do this.
So, now your 2 keys to effective eccentric training are in place:
5 Rules of Eccentric Training
Other Intensity Enhancers
Eccentric training is a power intensity enhancer. But it shouldn't be used every workout. What you need is an arsenal of intensity techniques that you can shuffle in and out of your program. Here are six of the best of them.
Pre-fatigue the muscle
An awesome way to pre-fatigue a muscle and, therefore, make it work much harder during the working set, is with pre-exhaustion training. This involves doing an isolation exercise to pre-fatigue and then immediately moving to compound exercise for a particular muscle group. The goal is to recruit and exhaust more muscle fibers, thereby generating a more effective growth response. You will also be making the target muscle the weak link so that it is doing the most working and giving out before other, smaller muscles.
Here's an example of how pre-exhaustion training works, using the flat bench fly and bench press.

Perform flys to pre-fatigue the pectorals before performing bench presses. This ensures that the chest muscles will fail before the weaker triceps or front deltoids that assist in the pressing movement. That means that you won't have to cut your set short because the triceps have reached the point of failure before the pecs.
Another example of pre-exhaustion, this time for the deltoids, involves doing side lateral raises before doing the overhead shoulder press.
Drop Sets
A drop set is a great way to extend a set beyond failure. You do this by reducing the weight, allowing you to perform more reps. This is accomplished by either taking weight off the bar, dropping the weight pin down, or grabbing a lighter pair of dumbbells when you can't do any more reps with good form on the starting weight.
Drop sets are easy to perform on machines where all you need do is reposition the weight pin to a lower level. If you are using a barbell, you will have to strip the weight off the bar between each drop. This is when it is good to have your training partner available to quickly pull off the weights. Using dumbbells is a little easier, especially if you are able to position yourself in front of the rack. Simply start in front of your heaviest weight and move down the rack as you proceed through the drops.
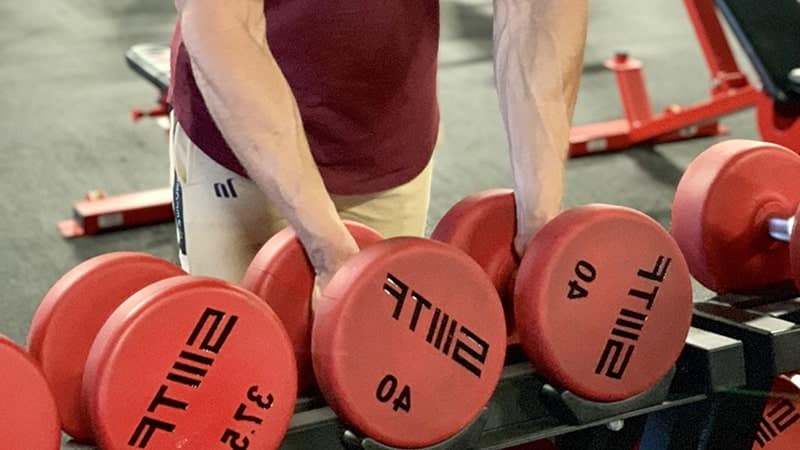
I find drop sets to be especially beneficial when doing side lateral raises with dumbbells. My working set usually fails at around 12 reps with 30 pounds. Because I'm standing in front of the dumbbell rack, I am able to put them back and immediately grab a pair of 20-pound dumbbells. I then continue to failure, which is usually about 7 reps.
I then go to the 165 pounders for another 6-7 reps. But I don't stop there; I keep going until I'm using the lightest weight on the rack and then I finish with 20 reps where I have got no weight in my hands at all.
Believe me, my delts are on fire after that!
Controlled Cheating
Controlled cheat reps are a great way to train muscles through their strongest range of motion, which is the negative part of the rep. This technique is different from the eccentric training that we have already talked about. With this strategy, you use momentum, gravity or power from otherwise non-contributing muscles to help you power through the concentric part of the rep while still controlling the more negative portion of the rep.
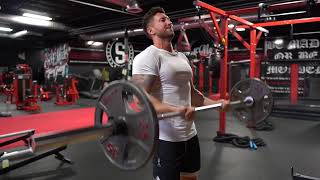
This technique allows you to get a few more forced reps in at the end of a set, which can ultimately lead to more size and strength gains. Choose your cheat reps wisely, however: this strategy works best on isolation moves such as pull-ups, seated rows, or cheat curls. Do not use it on exercises such as bench presses, the squat or the deadlift.
Self Spotting
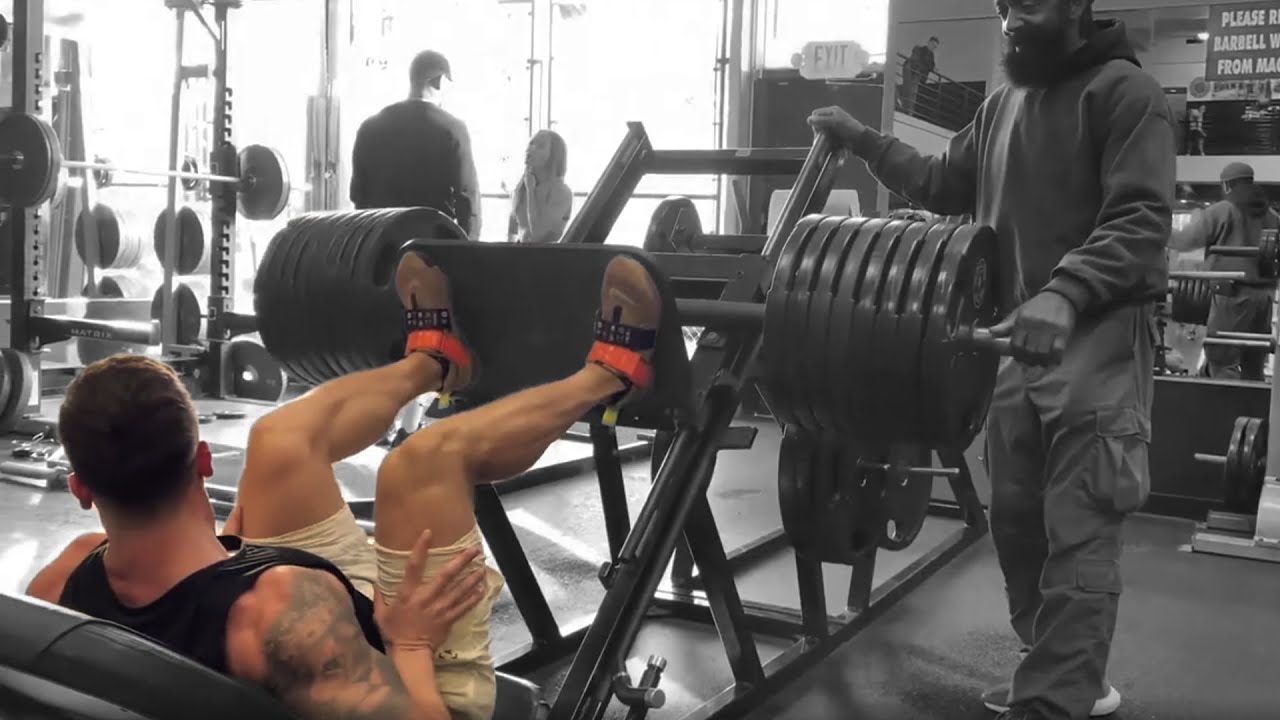
Self spotting can be used to boost the last few reps in a set by assisting a rep with a non-working arm. For the upper body, you can use a free hand to help with the last few reps by spotting the concentric part of the rep. For the lower body, you can self-spot a leg press by pushing your hands against your upper leg.
Pulling up on the handles of the seat calf raise machine will also help you to squeeze out a few more reps.
Self spotting works well for certain isolation moves, such as single-arm biceps curls, the leg press, seated calf raises and single-arm triceps extensions.
Power Pause Reps
A power pause rep provides you with a few seconds of valuable rest in the middle of the set so that you can continue it beyond the point of muscular failure. When you can no longer do another rep, pause in the bottom position for a few seconds. You will then be able to push out at least one more rep beyond failure.
Partial Reps
You generally want to perform your reps throughout 80% of your range of motion. There is little muscle building benefit through the first and last 10 percent of the range of motion, but the middle 80% is the sweet spot. That being said, partial reps are yet another way to increase the intensity of your set when done strategically.
By definition, you reach the point of positive muscular failure when you are no longer able to complete a rep through its full range of motion. You will, however, still be able to perform partial reps. So, the provision to this technique is that you should only use partial reps when you have reached the point of positive muscular failure. The part of the rep that you employ for your partial reps can be the beginning or last part.

However, because muscles are stronger at the beginning of their range of motion it is usually best to perform partial reps through the first third of the movement. As an example, if you are bench pressing and can no longer complete a full rep, perform a partial by pushing up about six inches from the chest and then back down for as many partials as you can. Of course, you will need to have a spotter hovering overhead on this one.
Bodybuilding legend Tom Platz was famous for making use of partial reps. He would keep pushing a set until he could literally not move the muscle a single inch.
Bringing it All Together with the Balloon Method
Our analysis of the 3 key laws for building muscle faster has revealed what you need to do for serious muscle growth in record time. Let's recap:
In order to achieve all 3 of these muscle growth goals in one workout, I've put together an awesome style of training that I've called the Balloon Method. It involves combining the following into a 20-minute session:
Here's an example Balloon Method Workout for the Chest and Deltoids:
The Balloon Method will maximize your potential to build muscle by making strategic use of the 3 key scientific muscle building laws. Switch over to start making the muscle gains you deserve.


