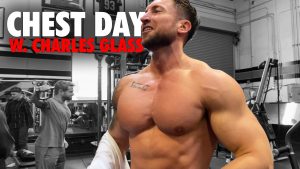
How muscle is built during a workout isn’t really up for debate anymore, and you are about to learn the ONLY 3 things you need to do during every workout to be a muscle building machine!
Make sure you read until the bottom to check out a full video breakdown of a Balloon Method workout in action!
Based on the latest scientific research by Dr. Brad Schoenfeld, there are only 3 mechanisms of muscle growth: mechanical overload, metabolic stress and muscle damage.
Triggering all 3 in the most time efficient manner is a "Balloon Method workout."
The Balloon Method was created right here at SuperHuman after myself & our research team concluded that muscle can really only be built in 3 ways during a workout, and it's not that hard to incorporate all 3 in a short period of time.
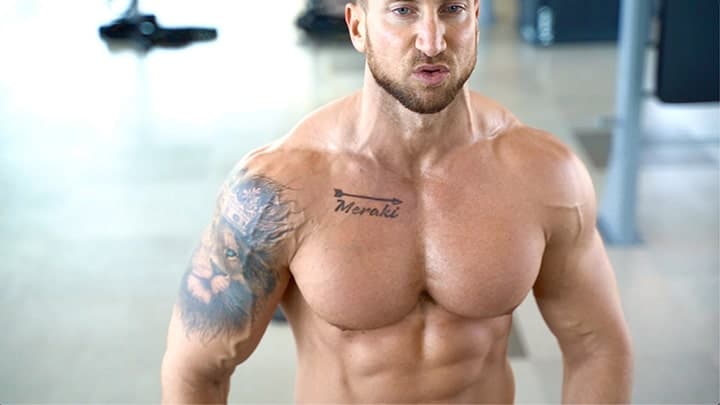
The Balloon Method has transformed my physique and helped fill out every muscle in my body. What's great is that it will literally work for ANYONE, regardless of your body type, fitness level and age!
This was proven by Brad Schoenfeld, who many consider to be the leading researcher on science backed and peer reviewed studies on hypertrophy.
We know exactly how to do it, but until the Balloon Method workout was created there wasn’t an easy system you could follow for every workout to ensure all your workouts triggered all 3 of the science backed ways you build muscle.
In today’s article I’m going to share with you exactly what a Balloon Method workout is and how you can ensure all your workouts follow the 3 rules of muscle building!
Let’s begin!
Does the Balloon Method Work For Everyone?
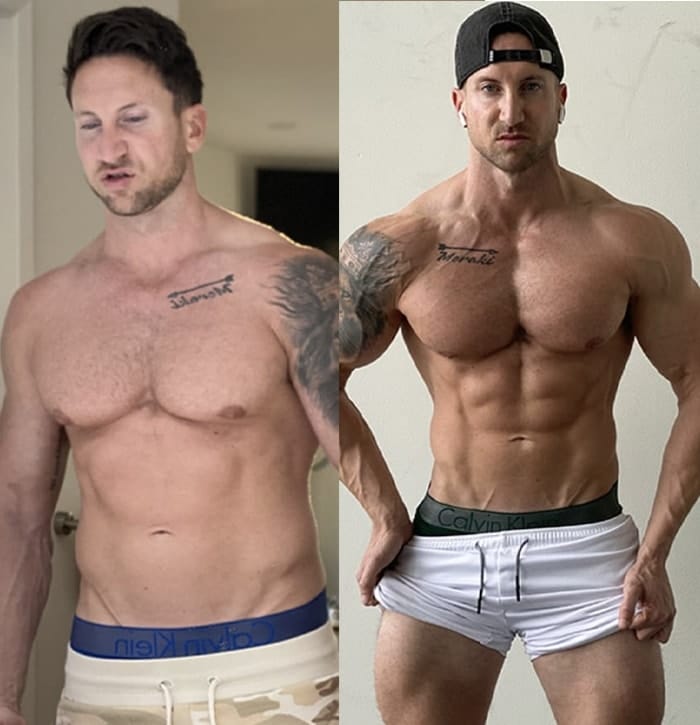
My 12 week before and after from Balloon Method workouts paired with about 3,000 calories a day. The result is I gained muscle while losing fat at the same time!
No matter if your goal is muscle building, fat loss or a recomp - the Balloon method workouts will help you get there faster by forcing you to get the most results in the least amount of time in every training session, and most importantly help you have more fun by incorporating some new intensity techniques in each workout!
This is not only great for building muscle mass, but also great for fat loss as by cranking up the intensity in your training you will burn more calories and fat in each workout session.
Since I started implementing the Balloon Method into all my workouts in 2017, I have gained over 15 lbs. of lean muscle mass in just over 2 years while cutting body-fat.
This is newbie level gains and one of the reasons I get accused of using PEDs on Youtube, despite being a natural lifter.
Keep in mind that I was an experienced trainee who had been lifting for over 10 years before this and had already built a lot of muscle mass.
Almost every beginner or intermediate lifter who uses the Balloon Method workouts sees even faster results, as evidenced by the thousands of people who use it on the Superhuman training programs.
If you have been training seriously for less than 5 years and have never incorporated a lot of intensity techniques into your training - expect jaw dropping results the first few months of using the Balloon Method.
So What is a balloon method workout exactly?
A Balloon Method workout is a training strategy that shocks the muscle into growth by combining all 3 ways your body builds muscle in less than 20 minutes per muscle group. It was named because of the balloon-like effect it has on muscle growth.
A 20 minute (or less) Balloon Method workout for a muscle group comprises three distinct types of sets designed to trigger all 3 proven ways your body builds muscle.
- 1Overload sets - think lifting heavy in the 4-8 rep range till failure.
- 2Tension sets - think “time under tension” or “chasing the pump” for 15+ reps until failure. Lighter weights, but taken till failure for any excruciating pump.
- 3Muscle Damage Sets - drop sets, supersets, slow eccentrics or any type of new and shocking stimulus to the body. These are the epic and high intensity sets that really take your results to the next level!
There is of course some cross-over between all of these. For example you might be doing a heavy superset of bench press and weighted pull-ups. This is a hybrid of an overload set and a muscle damage set.
As you will soon see, with just a little creativity it's actually quite easy to incorporate all 3 in a very short period of time, making your workouts shorter and more effective for hypertrophy.
Light Weight Vs. Heavy Weight
Based on the fact that both lifting heavy and lifting light weights until failure builds muscle, this ends the debate of light weight vs heavy weight for hypertrophy.
Do both in the same workout and do it with intensity and you will see some serious results.
According to Brad Schoenfeld in his article “3 Evidence Based Guidelines of Hypertrophy Training“ emerging evidence indicates that there may be a fiber type specific response to training in different rep ranges, with heavy loads showing greater hypertrophy in type II fibers and lighter loads targeting type I fibers. This further suggests a benefit to training with both high and low loads to maximize whole muscle hypertrophy.
The key is really within the rep ranges you chose to lift “heavy” and “light” and how far you can take it.
The key to lifting heavy weight for hypertrophy
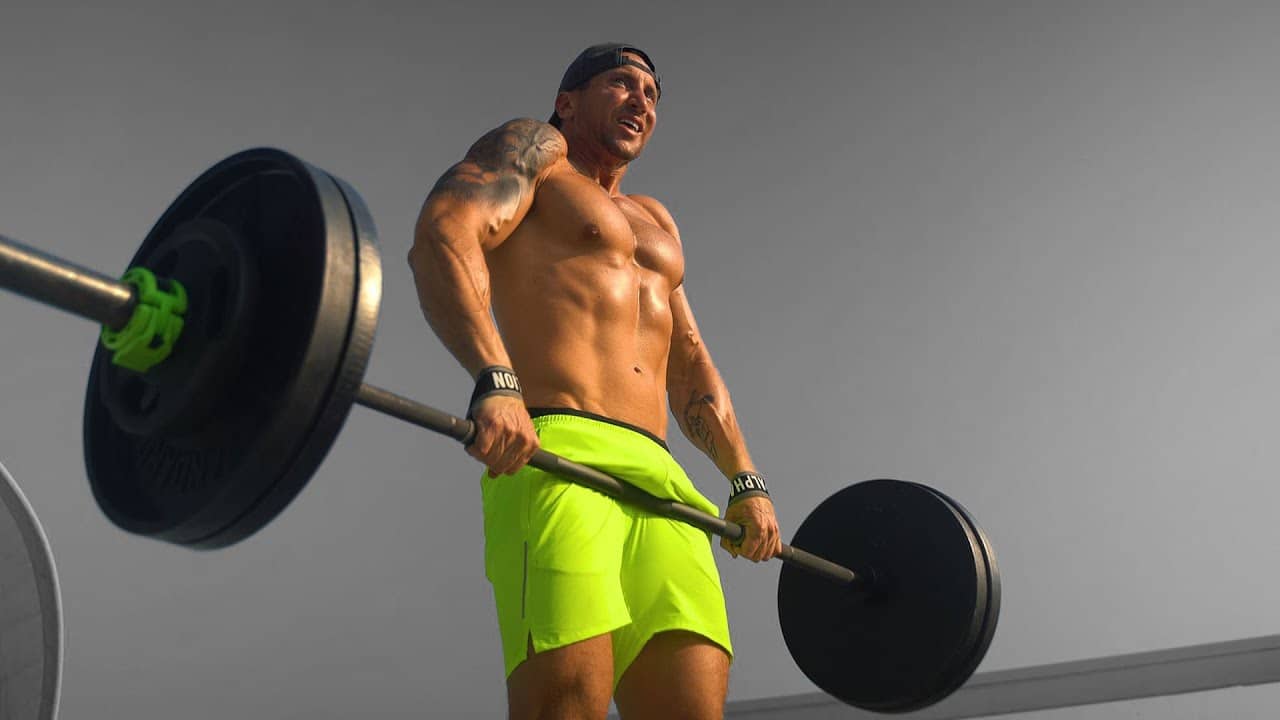
You don't need to lift crazy heavy weight to build muscle fast. Focus on training hard and activating your muscles and you will build muscle fast!
When I say lifting heavy to induce mechanical overload, you don’t want to be lifting more than 90% of your 1 rep max on a lift. This means your rep ranges will be between 4-8 and taken til close to failure or failure.
If you are unsure what your 1 rep max is on a particular lift and need some guidance on figuring out what 90% of your 1 rep max so you can get the most out of overload sets, I recommend you check out our Superhuman 1 rep max calculator!
The age old debate of the powerlifter vs the bodybuilder makes perfect sense here.
Powerlifters do tons of training 95%+ of their 1 rep max, and a lot of 1-3 rep range training. This is great if you’re trying to get stronger and be a world class powerlifter, but not necessarily true if you want to build the muscle as fast as possible. This is why you see almost all bodybuilders train with lighter weights and more time under tension. Even their “heavy sets” usually fall within the 6-8 rep range.
The key to lifting light weight for hypertrophy
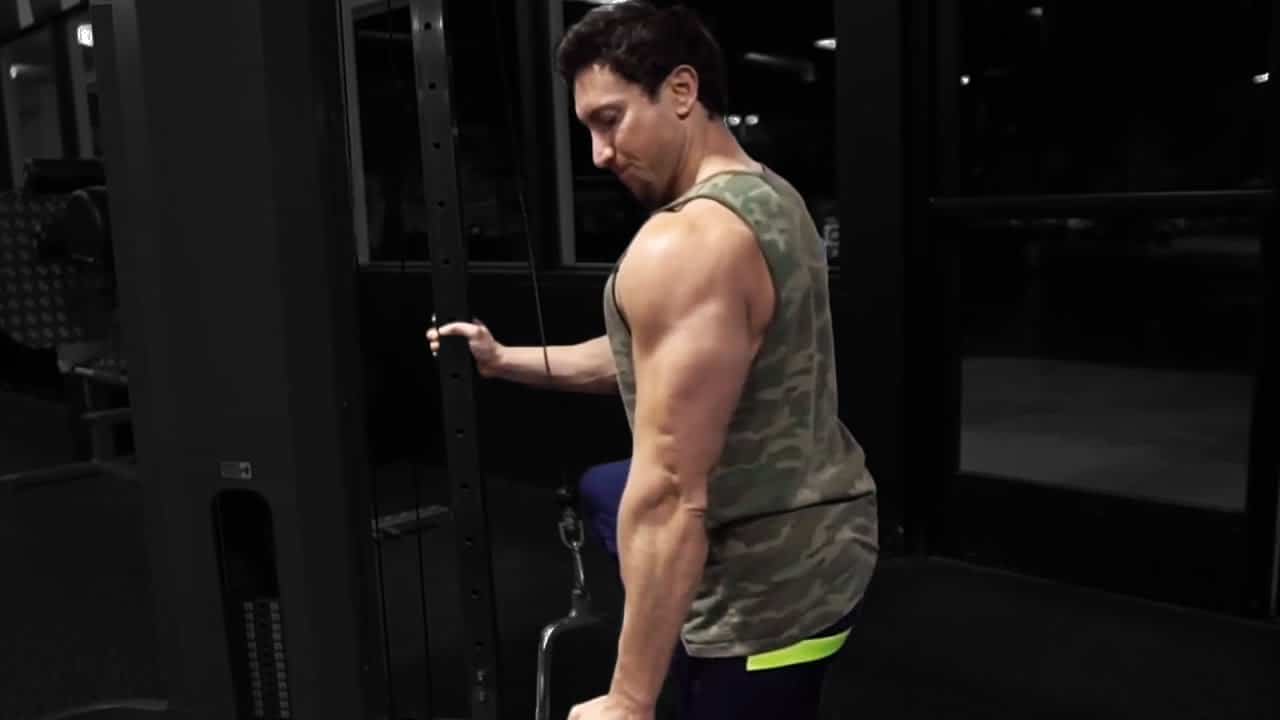
Machines and Cables are great for time under tension sets and going higher rep.
Light weights build muscle by inducing metabolic stress, but only if done properly. When I say lifting lighter weights I basically mean to chase the pump and maximize time under tension. This doesn’t mean that it's “easy” and you are lifting 5 lb. dumbbells for 100 reps however.
The sweet spot is usually in the 15-25 rep range or keeping the muscle under constant tension for at least 45 seconds.
You need to take these light weight sets until failure or very close to it to actually see results from this type of training. You will know you are doing it right when you have an excruciating pump in the muscle you are training.
So what does a Balloon Method workout look like?
You can do a balloon method workout regardless of what split you follow. Most of the SuperHuman Training programs follow pretty close to a push, pull, legs split or training at least 3-4 muscles per workout.
Here would be an example of a Balloon Method push workout that would hit your chest, deltoids, and triceps and trigger all 3 mechanisms.
| #1 Incline Barbell Bench Press | |
|---|---|
| Target | Upper Chest, Outer Chest, Triceps, Front Delts |
| Sets | 3 |
| Reps | 4-8 (overload) |
As you should know, free weights are your top priority when the task at hand is creating maximum overload.
For this second overload exercise, we’re utilizing the incline angle and the intensity that a barbell offers.
The incline angle allows for better activation of the clavicular head of the pectoralis major (Upper chest).
Pressing exercises done under this angle must not be neglected, given that we are looking for good overall development.
Note that the optimal upper-chest activation angle forms at 45 degrees or slightly higher.
If you go way higher than that, you’ll activate the shoulders more and it pretty much won’t be a bench press anymore, more so than a shoulder press.
execution
- 1Setup the barbell so that the threads in the middle are right at the center of the backrest of the bench
- 2Lie down and grab the bar wider than shoulder width, with the thumb going over the bar (Very important! Avoid using suicide grip)
- 3Un-rack the barbell and bend elbows slightly, out of lockout to avoid excessive tricep activation
- 4Let the bar go down to the upper portion of your chest, slowly
- 5Without resting the bar on your chests, pause for a split second at the bottom
- 6Push up explosively, contracting the chest up top, with no elbow lockout
Note that you can go really heavy on this exercise, as long as you maintain constant tension and proper exercise execution.
| #2 Barbell Overhead Press | |
|---|---|
| Target | Front Delts, Side Delts, Upper Traps |
| Sets | 3 |
| Reps | 4-8 (overload) |
The barbell overhead press (or "military press") is a powerhouse of an exercise that works the muscles of the shoulders and upper back.
When executed with precision and technique, it can not only define your shoulders but also shape your upper back to give you a broad, balanced physique. This total-body lift effectively develops the shoulders and upper back, two of the most vital areas of the body for strength and muscle tone.
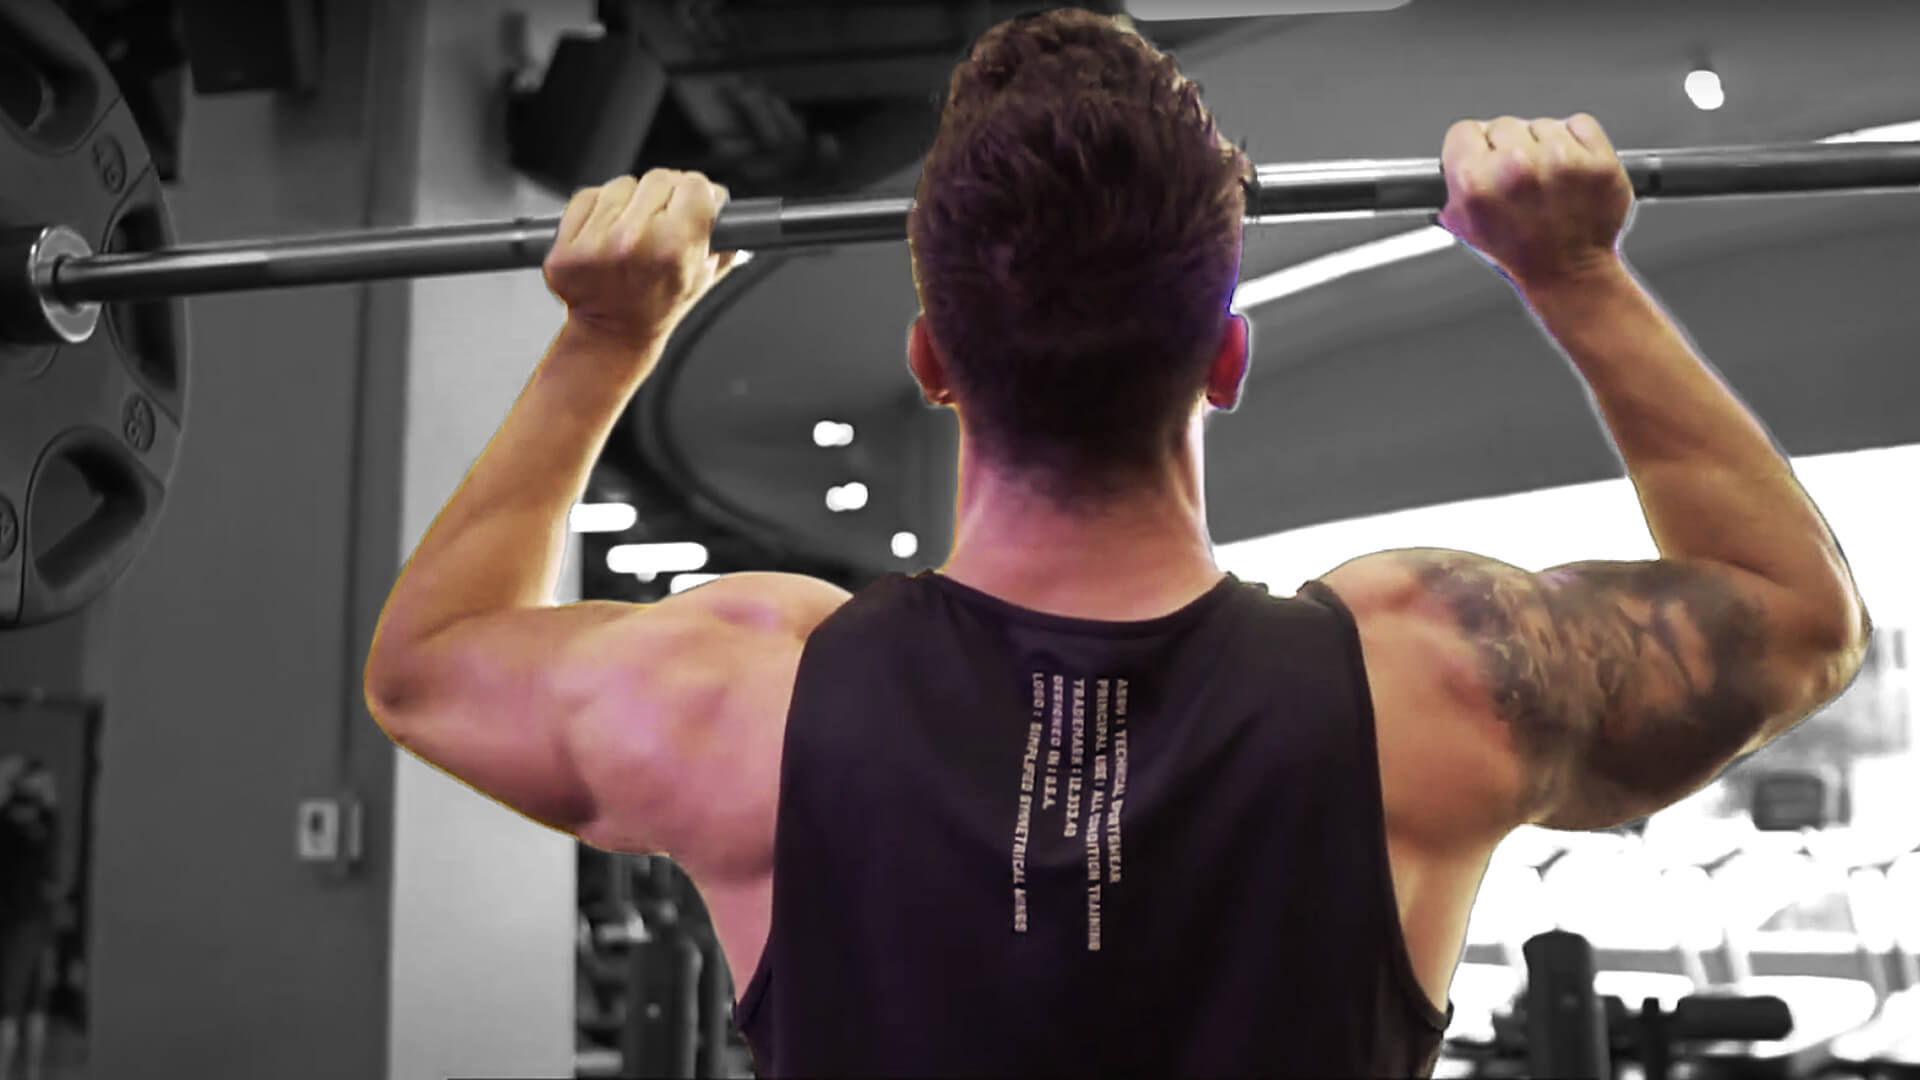
Overhead pressing strengthens the entire body. The press isn't just for the shoulders and arms—the standing overhead press is also a great way to work the abdominals and hips, as well as helping to improve your leg strength.
The overhead press may be the most effective exercise for developing bigger shoulders, upper back, and triceps. It's a favorite of fitness enthusiasts because it's an incredibly effective way to develop these muscle groups. The weight you use for the press must be heavy enough that your muscles won't tire out and at the same time light enough that you can complete 8-12 reps in an extended set.
Before You Perform The Overhead Press: Safety First!
You'll want to stay away from the overhead press if you're new to strength training because of its heavy loading and nervous system demands. While it's one of the most impressive lifts and it's fantastic for building your upper body, you need a solid and established fitness baseline and a grounded education in strength training before making a foray into the military press. The truth is, some folks' bodies just can't handle training with heavy weights overhead without injury.
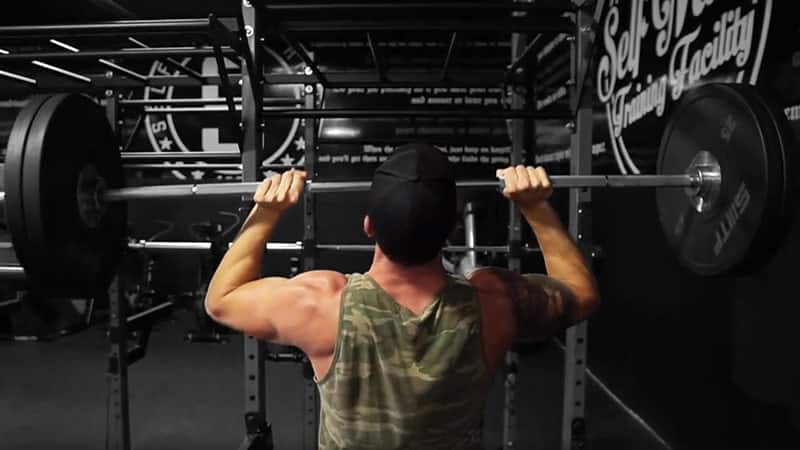
The barbell overhead push press and other overhead press variations can be dangerous when performed by weightlifting amateurs. If you don't have the proper upper body strength to manage the weight, you can cause serious injury on your very first rep. Even strong lifters must take great care to perform the overhead press with the appropriate technique to ensure that they don't cause muscle strain on their neck, shoulder blades, arms, pectorals, or core muscles.
Most people can't afford a personal trainer, but there are some exercises you can do to check your core, arm, and shoulder strength to find out if you're ready to start adding the overhead press to your lifting regime.
Shoulder Blade Touches
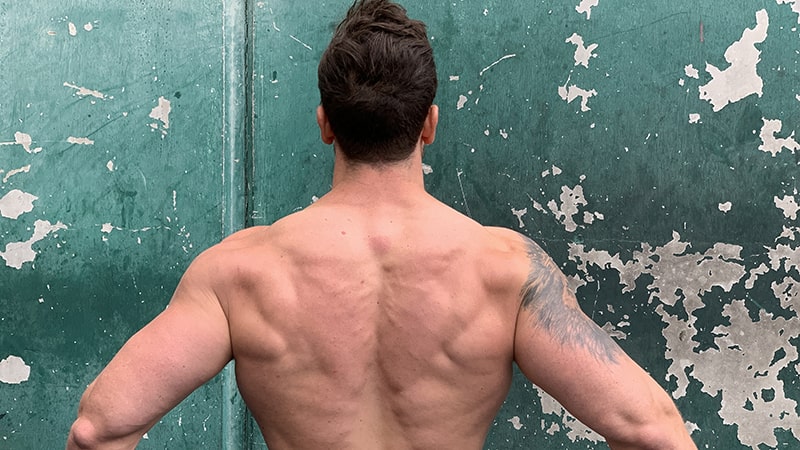
Stand straight with your arms at your sides and feet at shoulder-width apart. Reach both arms behind you and touch the tops of your shoulder blades. If you can do this without touching anything other than your arms, then you have the flexibility to perform the overhead press.
If you can't, you can still perform this exercise with dumbbells or kettlebells, but don't pick up the bar quite yet.
Overhead Reach
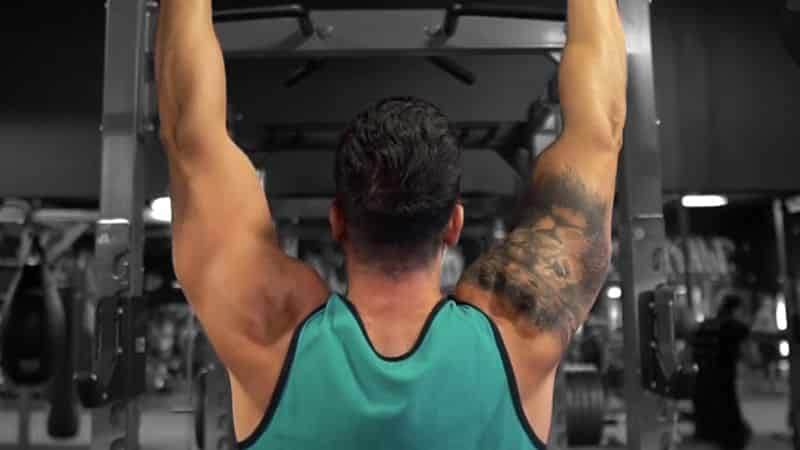
Stand in front of a mirror, arms at your sides. Raise both arms overhead. If you can, raise both arms parallel with your ears—without your ribs moving, and without anything else moving.
To pass this test, you need to be comfortable while standing straight with your arms upright and make sure your ribs are still.
If you've failed, don't overanalyze why. Just attack your next workout with more power and precision. Don't hit the bar just yet, but you can start trying a light overhead dumbbell press (or kettlebells).
When To Use The Overhead Press
A multijoint movement should always be done first in your workout. While you don't necessarily need to perform overhead pressing first in a workout, it's best to do this heavier exercise as your main lift especially if you're just starting out.
Depending on the lift variation, place it as an accessory movement or a support exercise for your primary lifts. This heavy exercise is taxing on your CNS because of its full-body nature and relatively heavy loading.
Planning Your Overhead Press
Form is essential when it comes to complex movements, especially when lifting weight that's too heavy. When form breaks down during a training session, injuries increase the likelihood of poor results. As a result, athletes are better off choosing sets and reps schemes that allow for form and posture maintenance.
The ideal rep range for overhead pressing is 3-8. Any more or any fewer reps and you risk breaking form, muscle strain, and fatigue. This has been proven time and time again in studies on overhead press form with novice to advanced lifters. On the other hand, 3-8 rep ranges are also known for increasing strength gains over longer durations of training.
Sometimes increasing the number of reps can lead to plateaus rather than progress. If you're going over your 8-rep goal, try adding more weight or reducing rest time. As with any workout, training balance is typically the answer more than going to extremes.
For many new lifters, dumbbell and kettlebell variations are their main lift. The overhead press is just one example of the many lifts that can be done with a lighter load and easier form.
Perform dumbbell or kettlebell overhead press sets in the 5-12 rep range with lighter loads, and you'll give your body the time it needs to grow. The 5-12 rep range is ideal for these exercises since it builds strength without setting you back in terms of your range of motion or exertion.
How To Perform The Overhead Press
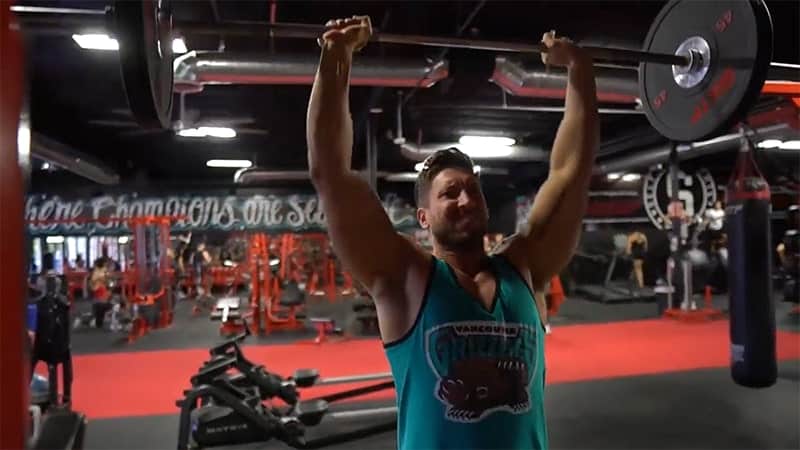
To perform an overhead press with proper form, stand with the bar on your front shoulders. Position the bar on your shoulders, and grab it with an overhand grip, just outside shoulder-width apart. Straighten your arms until you are in a rigid pressing position, elbows locked at the top, keeping a straight bar path. At the top, hold the bar for a second before lowering it back to your front shoulders.
The overhead press with dumbbells and kettlebells is similar in execution but with one slight difference. The hands start out in a neutral position at the bottom, like a dumbbell press. Rotating the arms parallel to the ears as you press makes use of the shoulders' entire range of motion. The rest is the same. As the weight is moved up and back, the elbows extend as they are pressed up and back.
Overhead Press Form And Stance
When doing the overhead press, your heels should be under your hips. This means that you should have a narrow stance. But your heels shouldn’t be touching. Stand similarly to how you stand when you perform the deadlift.
Lower Body
Staggering your feet might improve your overhead press, but it can also hurt your lower back and hips. Overhead press with your feet parallel and shoulder-width apart to evenly distribute the pressure on your back and hips.
You can turn your feet out slightly, but make sure that they are aligned horizontally when you look down. Don’t stagger your stance by putting one foot forward.
Your feet should be flat on the floor when you overhead press. This increases body balance and allows you to use more of your body weight to lift the bar. To optimize your bar control, keep your forefeet, heels, and toes firmly on the floor.
Avoid lifting your toes or raising your heels. Use only the muscles in your feet and legs to overhead press, not momentum from your upper body.
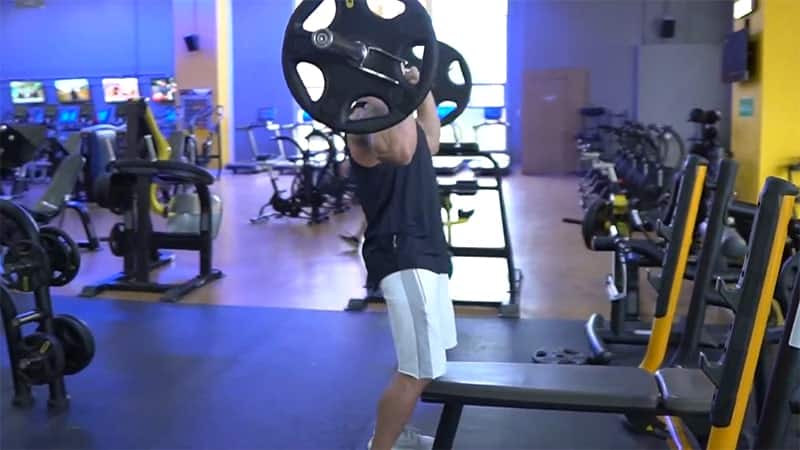
Keep your legs straight and squeeze your glutes. Your shoulders are doing the work, not your knees. Hyper-extending your knees is cheating — you’re taking the work away from your shoulders.
Squeeze your quads and keep your legs straight. If your knees hurt, you’re probably hyper-extending. If you still can’t lock your knees, decrease the weight by 10%.
A push press is not the same as an overhead press. The push press uses your stronger hip muscles to drive the bar off your shoulders. It allows you to press heavier weights, but it doesn’t work your shoulders like an overhead press does.
If you bend your hips while doing an overhead press, you will cheat yourself out of better results. You should never cheat during a workout. Think about squeezing your glutes to keep your hips straight.
Grip
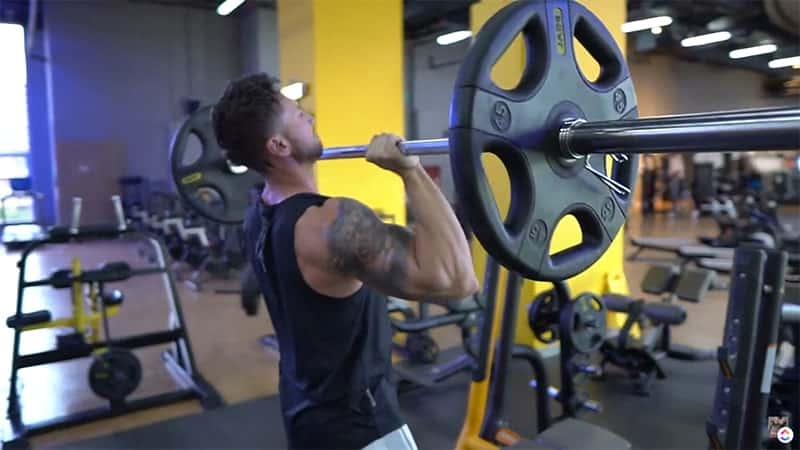
Your grip is very important for the overhead press. If you want to do this exercise safely, you must wrap your thumbs around the bar.
This way, the bar cannot slip out of your hands and hit you in the head. It also makes you stronger because you get to squeeze the bar harder.
This helps engage your arms, shoulders, and chest muscles more — making them stronger too. Plus, a full grip allows you to overhead press more weight without causing bad form.
Should You Stand Or Should You Sit?
What's the difference between doing this movement standing vs. sitting? When you do barbell movements with weights, your body must use stabilizer muscles in each shoulder joint to keep each body part pressed against the weight at all times, or you'll experience a painful injury. Strong, stable shoulders help prevent you from bending over during lifts.
Standing Overhead Press
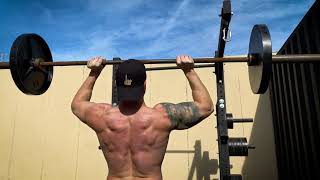
The standing barbell press takes more total-body strength because it builds more core stability, trunk stability, and tension. It also builds more shoulder strength. However, if you're already in fantastic shape and strong, the seated overhead press will build a higher percentage of your overall upper-body strength, but not necessarily more overall strength.
Standing overhead presses require more core stability and total-weight tension than the seated variety because your hips and legs need to be engaged to prevent you from bending over.
Seated Overhead Press
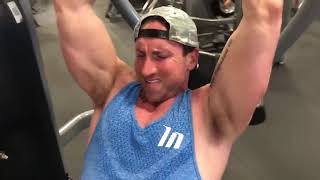
Seated overhead presses are best for those with stronger core strength and less flexible joints. They're typically easier to perform since you stabilize your body with the bench.
This makes them a good choice for lifters who are newer to weightlifting exercise and those who aren't in the best of physical shape. They're also the best alternative for lifters with lower-body disabilities who want to utilize the ultimate upper-body lift.
Muscle Groups Worked By The Barbell Overhead Press
The overhead press utilizes a variety of muscles to lift the weight. Your shoulders and arms are the prime movers that press the bar overhead. But everything between your shoulders and the floor should stay tight to balance you as well as keep you from dropping the weight on your neck or elbows. The overhead press concentrates several muscle groups all at once to build strength and power.
Arms
Straightening your elbows works the muscles on the backs of your arms, your triceps. Their size makes them stronger than any bicep. Your forearm muscles also jump into action to hold the weight.
Back & Shoulders
To overhead press, lift the bar with straight arms so that your feet don't leave the floor. This targets the muscles in your shoulder: your front, side, and back deltoids. Muscles are developed evenly with heavy weights so that you build wider shoulders.
Core
Your core muscles are the foundation of a strong body. They stabilize your torso while you press the bar overhead. Stronger abs are leaner abs, especially when paired with a balanced diet.
Legs
Your legs balance your body while your arms and shoulder press the bar. This works your hips, thighs, calves, and ankles. The overhead press doesn't work these muscles quite like squats because your legs don’t move during your reps. Instead, they stay straight. They have to support the heavyweight of the bar. If you want to work your lower body, squats are a better choice.
Important Safety Considerations For The Overhead Press
Any exercise can cause unnecessary strain or injury when done incorrectly, but the overhead press is a full-body workout using a heavy free weight overhead. This makes it one of the more hazardous lifts you can perform, and a number of things can go wrong if you're not adequately prepared or if you don't have enough strength to perform the overhead press correctly.
Before adding the overhead push press to your workout routine, perform the safety checks listed above and consider these safety risks associated with the lift.
Watch Your Shoulders
The overhead press has been proven beneficial for shoulder health, but you need a good form. It strengthens your shoulders and rotator cuff muscles. These muscles secure your shoulder joints and prevent dislocations. Good form also prevents muscle imbalances in the bench press by strengthening your rear shoulder muscles. However, poor form will hurt your shoulders. The bench press is a great exercise to do for strong shoulders that will then help with your overhead press form.
Do shoulder shrugs. Start by holding the bar up high with your elbows 45° in. Don’t use a grip wider than this or your elbows will flare like you do on the bench press. Press the bar in a vertical line until your arms are straight at the top. To finish the rep, lift and tilt your shoulders. The barbell should stay on a straight bar path directly over your shoulder joint while you do this.
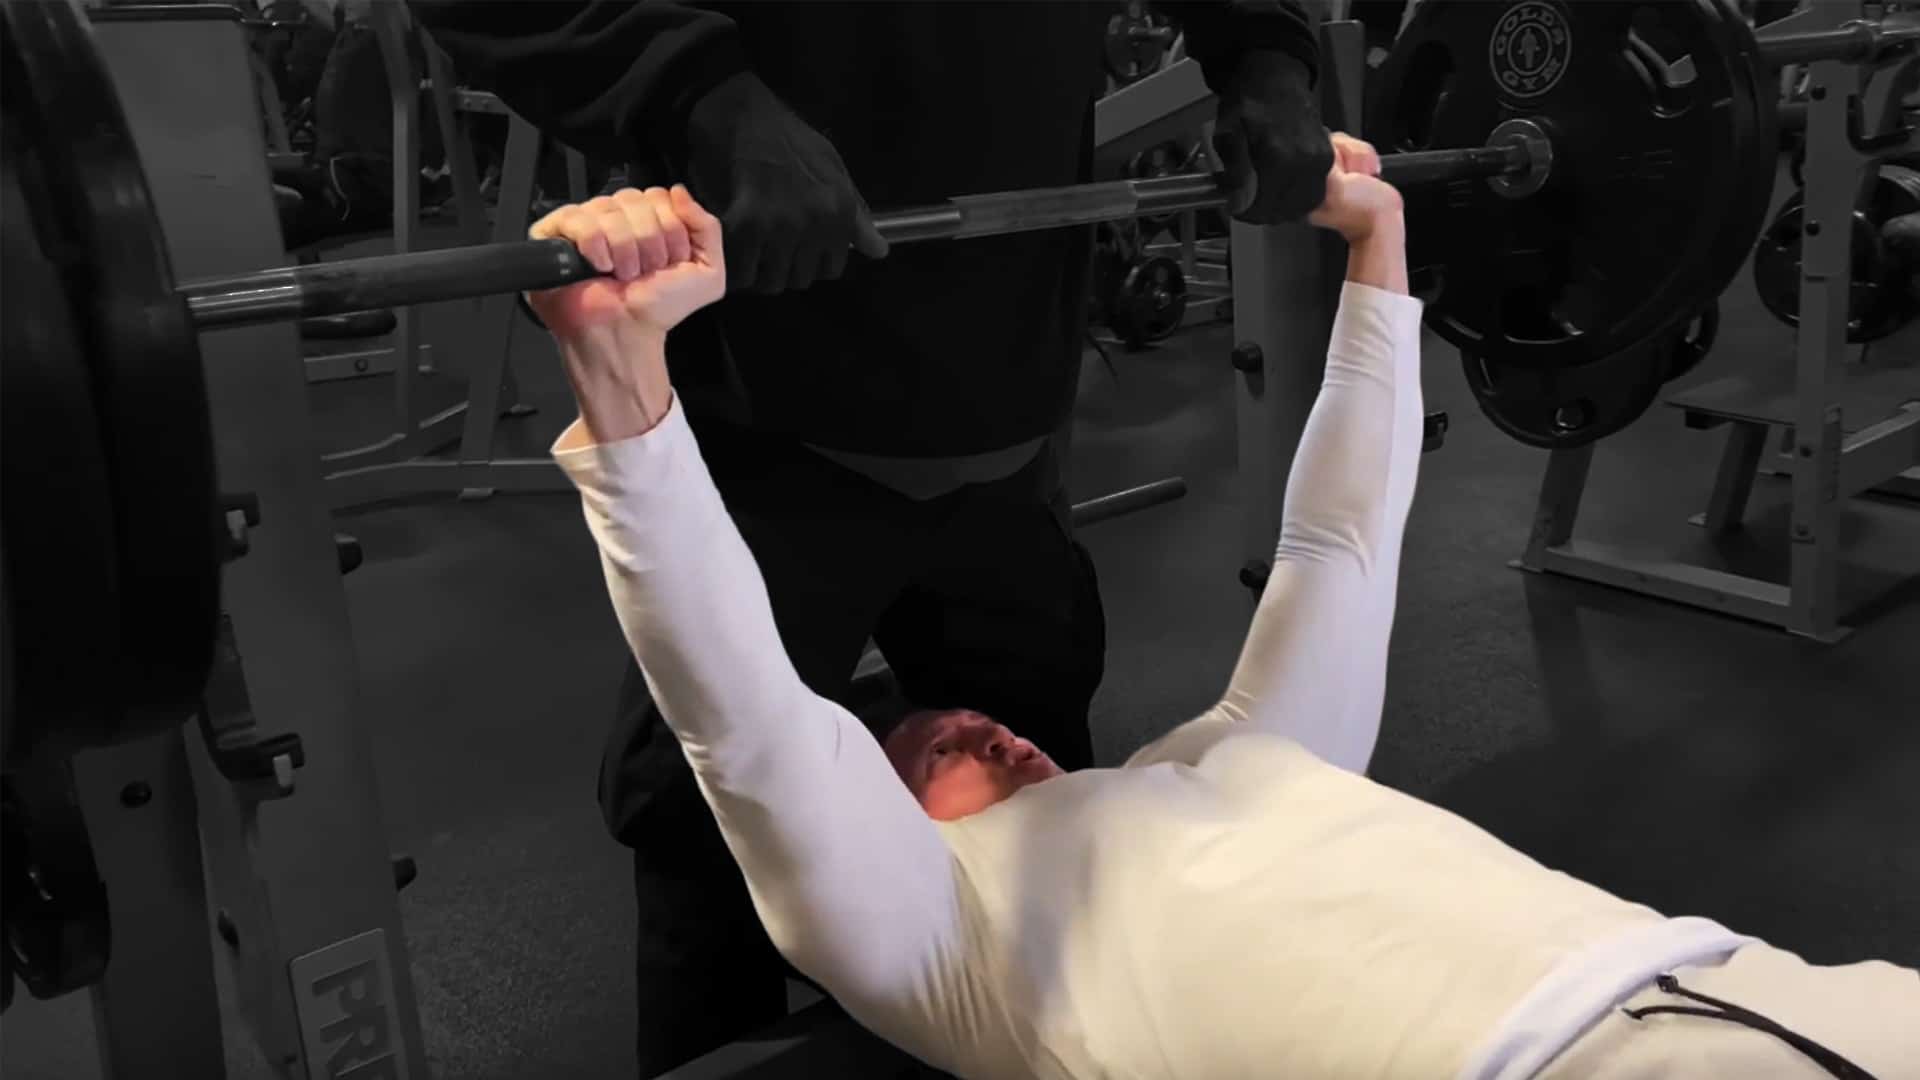
Shrugging is a key to strong shoulders. This will activate the trapezius muscle, rotating the shoulder blade out and lifting the bony process of the upper arm bone (humerus). This creates space between the top of your humerus and your acromion, which can alleviate shoulder pain and decrease inflammation.
If you don’t shrug at the top of your bench press, you are putting yourself at risk for injury.
Be Ready To Drop The Bar
People are scared of overhead pressing when they’ve never done it before. They think that the barbell will fall on their head and crush them before they even get a chance to finish the lift. However, this is a myth. A weight that is too heavy for you to control won’t go as high as your head. You'll fail at the bottom because it's too hard.
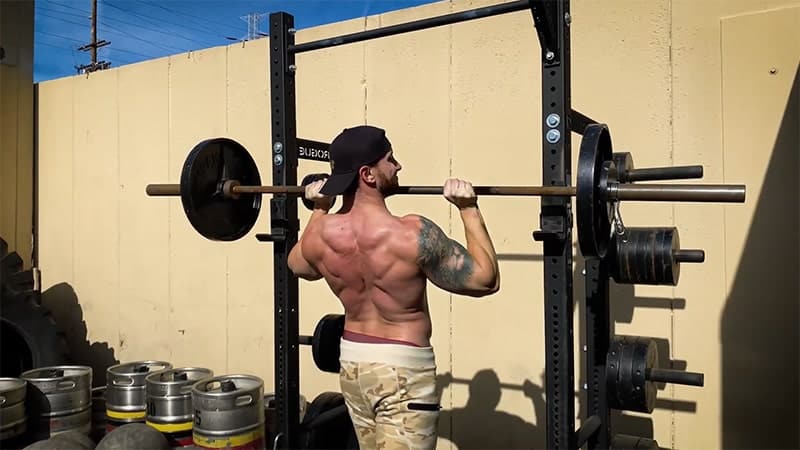
When doing the overhead weight press, there are only two ways you can drop the bar on yourself. The first is to use a thumbless grip. If this happens, the bar will fall out of your hands and hurt you. It’s better to have a full grip with your thumbs wrapped around the bar.
Another way to drop the bar is to not lock your elbows at the top of the move. The weight will collapse over your head if you fail to lock your elbows. Always lock your elbows at the top of the overhead press.
You don’t actually need to overhead press inside the Power Rack with safety pins set. You can simply go right into your shoulder press when you fail a rep. If you prefer to overhead press inside the Power Rack with safety pins set, arm yourself with confidence and do it.
Benefits Of The Barbell Overhead Press
You don’t need to isolate your shoulder muscles with lots of different exercises. The overhead press gets the job done. It works your entire shoulder girdle evenly, allowing you to lift heavier weights.
The overhead press strengthens your rotator cuff muscles. It's a safer and more effective way to prevent and fix shoulder injuries than internal and external rotation exercises with dumbbells. Plus, unlike the bench press, it strengthens the back of your shoulders, not just your chest.
| #3 Dumbbell Bench Press | |
|---|---|
| Target | Lower Chest, Outer Chest |
| Dropsets | 3 |
| Reps | 10 (muscle damage) |
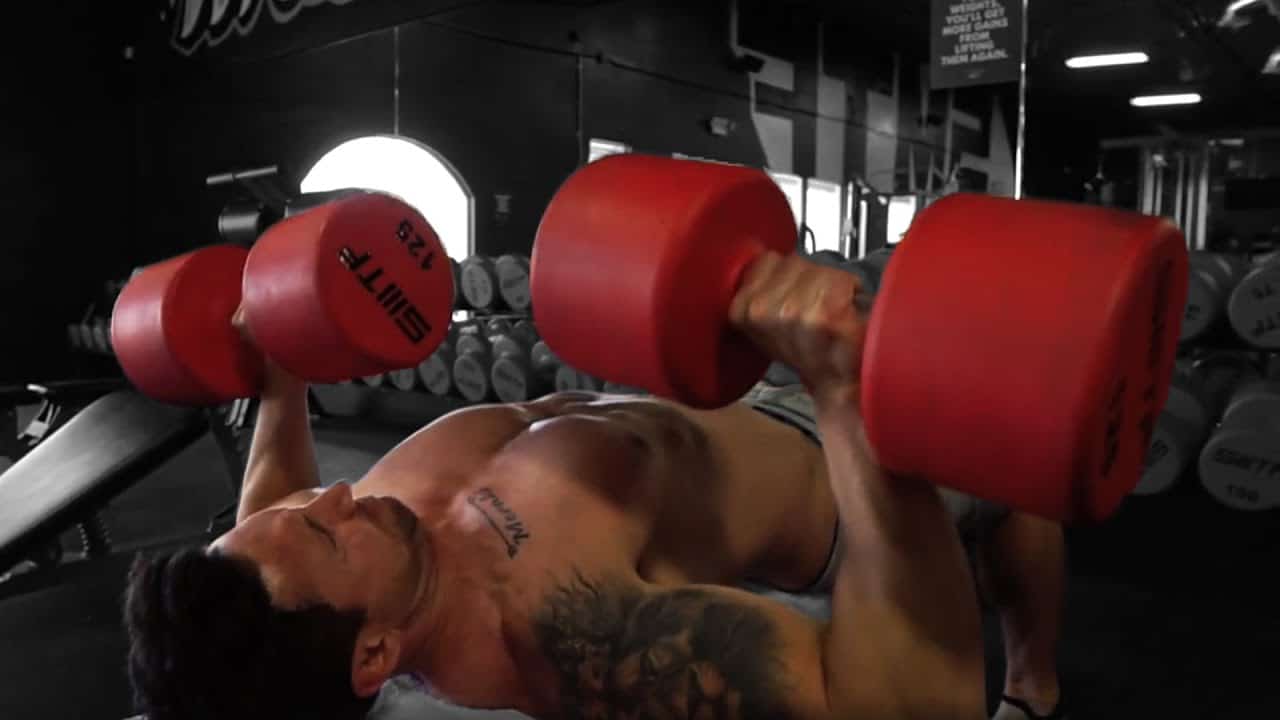
It's the most popular exercise at the gym. Yet, it's not as effective as you might think — especially if your goal is to build strength and muscle mass. The traditional bench press is one of the most commonly recommended exercises for chest-building, but its popularity may lie in its ability to boost our ego rather than build our chest muscles.
When people think of chest workouts, a few things come to mind: the barbell bench press, dumbbell flyes, dumbbell decline presses, and cable crossovers. However, there's one exercise that's overlooked by many lifters – particularly those looking to add mass to their pecs.
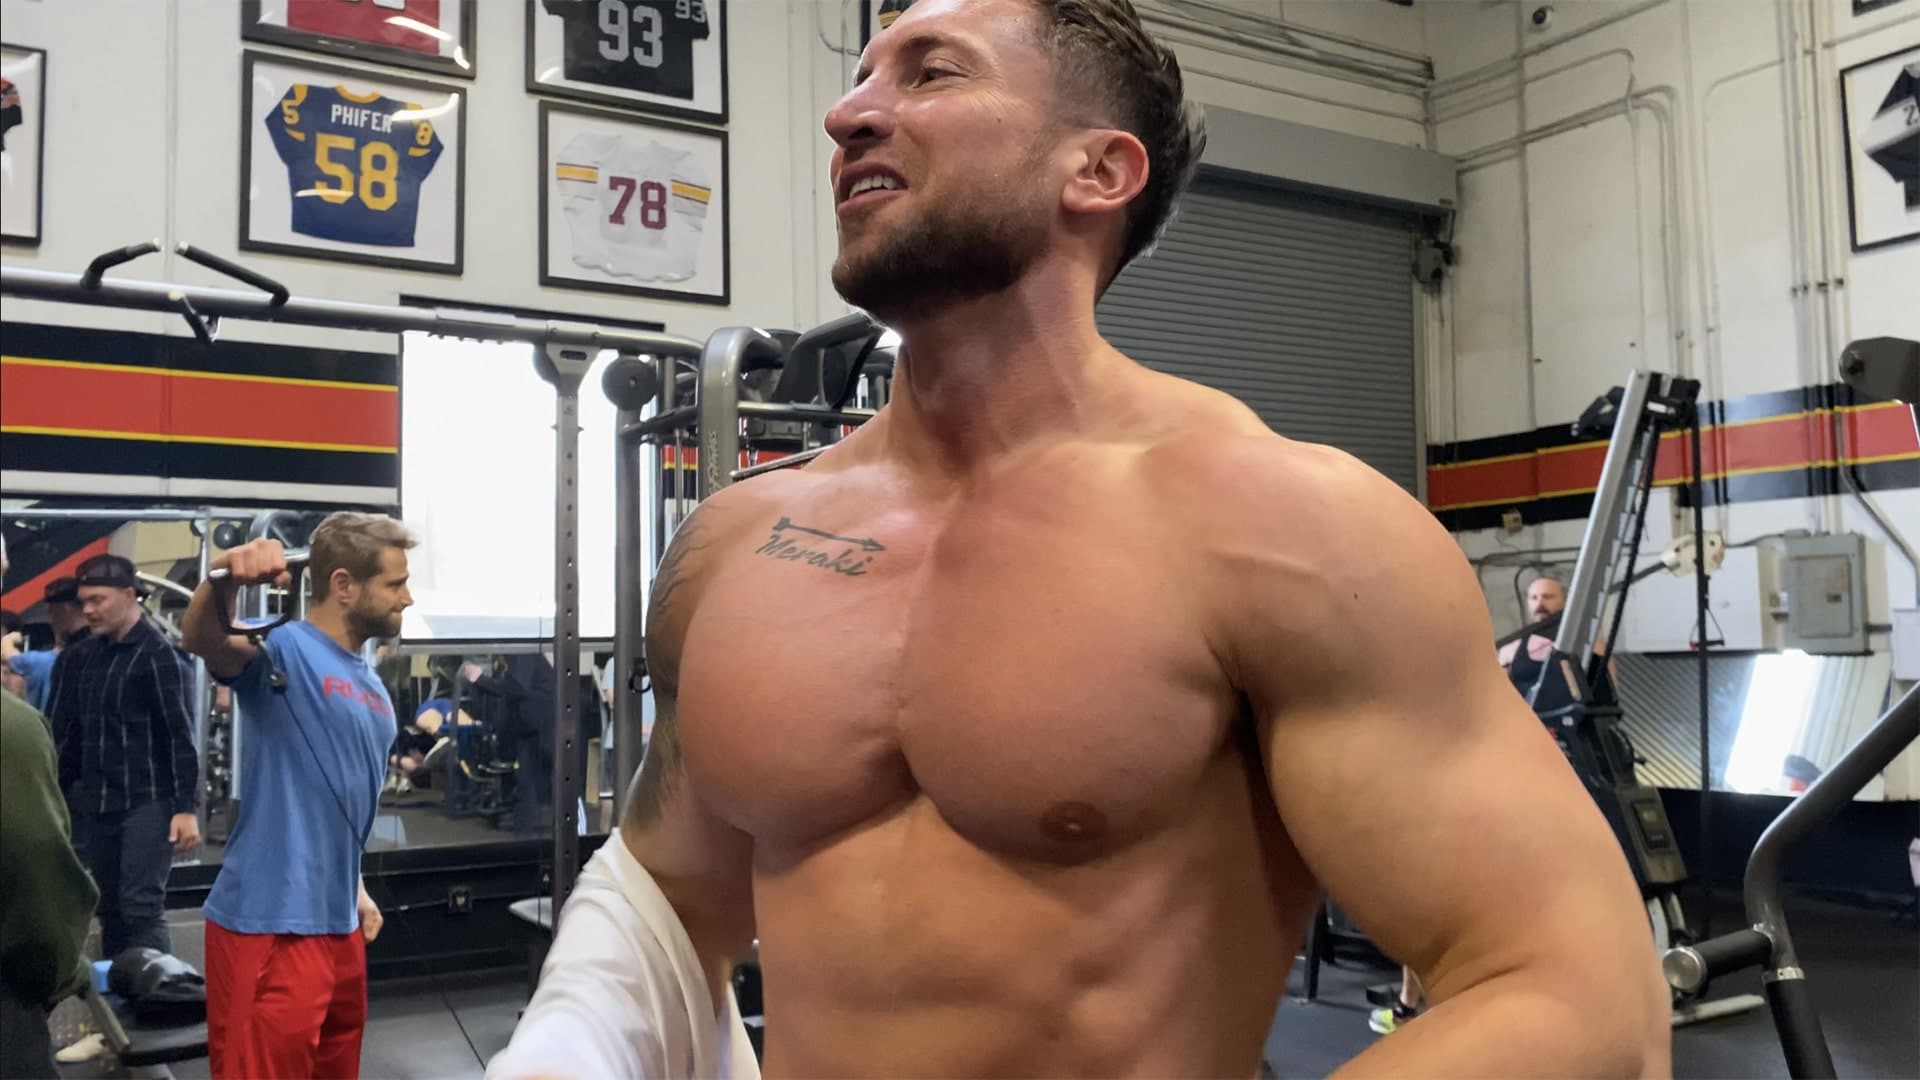
When it comes to bench press, dumbbells are better than a barbell. Doing dumbbell bench presses allows you to move your arms independently of each other, thus increasing the range of motion and hitting your pecs from different angles. This means you can hit more of your pecs muscles, instead of relying on your stronger side. Dumbbells also work other important muscles, like the triceps — so your arms don't get lopsided and unbalanced.
How To Do A Dumbbell Bench Press
The first step to doing a dumbbell bench press is to load the weights. For light to moderate weight, it's ideal to have a friend hand you the weights once already lay down on the bench. If that's impractical, you can load them from the floor to your knees.
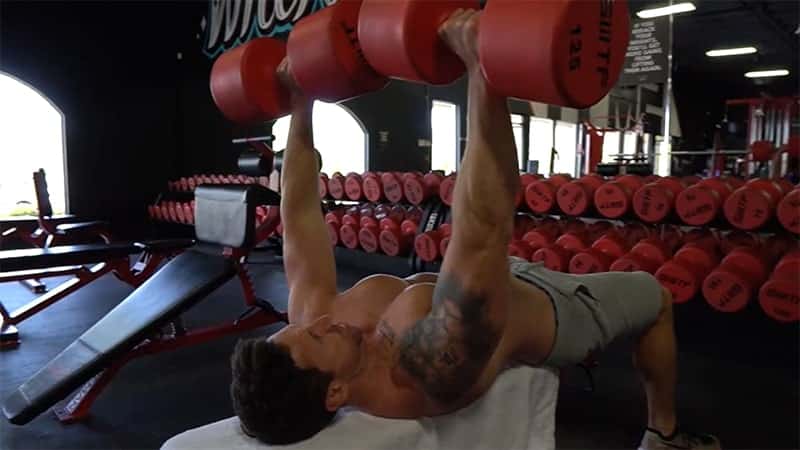
When you lie down on a bench, it's important to squeeze your shoulder blades together. For this reason, it's necessary to keep your feet actively pressed against the ground so that more muscles will be engaged during the lift. With your back acting as the base of this lift, you can tense your back muscles by squeezing your shoulder blades together.
You don't want to launch one too hard and risk hitting your head! Start by holding the dumbbells over your chest, with arms fully extended.
When you think of the back as the base of this exercise, you can really engage your lats. By tensing your scapulas and pulling them together, you're engaging the back muscles and preparing to lift the weight up. This will engage more muscles in your body to help with the lift.
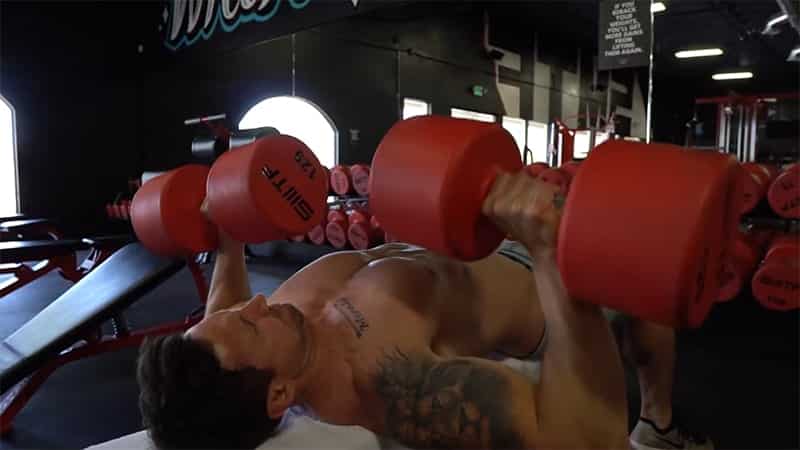
While keeping a slight bend in your elbows, slowly lower the dumbbells in front of your body. Be sure to keep the weights close to the center of your body. At the bottom of the dumbbell press, the weights should be directly below your upper chest.
Your goal is to keep the dumbbells floating in a specific pressing path. Move them in a straight line from your shoulders to your chest. Don't let the weights move out of that path, or you risk damaging your muscles and ligaments. Lower the weights until the ends of the dumbbells are just above your shoulders.
Benefits Of The Dumbbell Bench Press
Though using a barbell might be the more traditional choice, there are several reasons why dumbbells are becoming more popular. Many believe that working out with dumbbells provides a greater range of motion than using a barbell, and this means that you can target your pecs more effectively during the exercise.
The bench press is the king of upper-body exercises for a reason: it builds strength and muscle mass in your chest, shoulders, and arms. Here are just a few benefits to this dumbbell exercise.
More Natural Grip
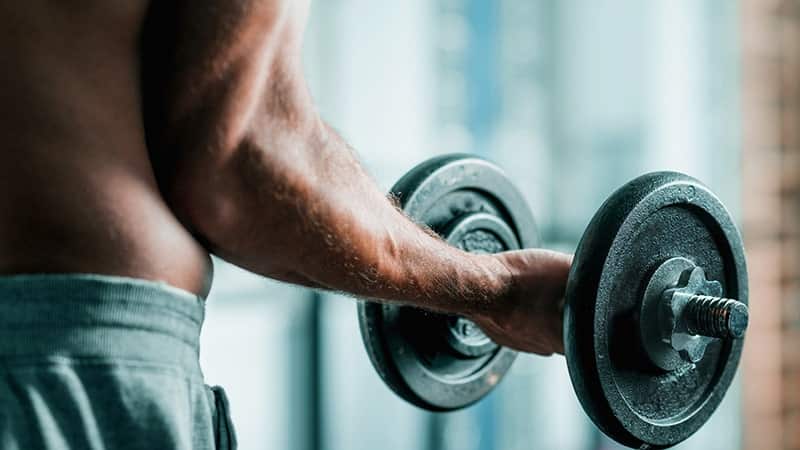
For people who have previously experienced shoulder injuries, dumbbells might be the ultimate training tool. Unlike a barbell, dumbbells allow your arms to move through a greater range of motion — letting you grab the weights with a more natural grip and letting your elbows flare outward.
You can take your dumbbells with you anywhere and work out when you find the time. The versatility of the dumbbell comes into play here again as you can go fully neutral with your grip (palms facing each other as you grip the dumbbells), and with elbows tucked in to emphasize the triceps, offering an alternative to the close grip standard barbell bench.
Less Risk Of Injury
Safety is always paramount when lifting weights. With a lighter weight, you're free to move around without feeling constrained by a barbell on your back. If you fail a rep without a spotter, getting the weight off of your chest is much easier with dumbbells than it is with a barbell.
For those who want to push themselves to the point of failure, but don't have the option of a spotter, dumbbells are where it is at. Typically you'll be doing less weight with dumbbells because of that increased freedom of movement.
Harder To Cheat
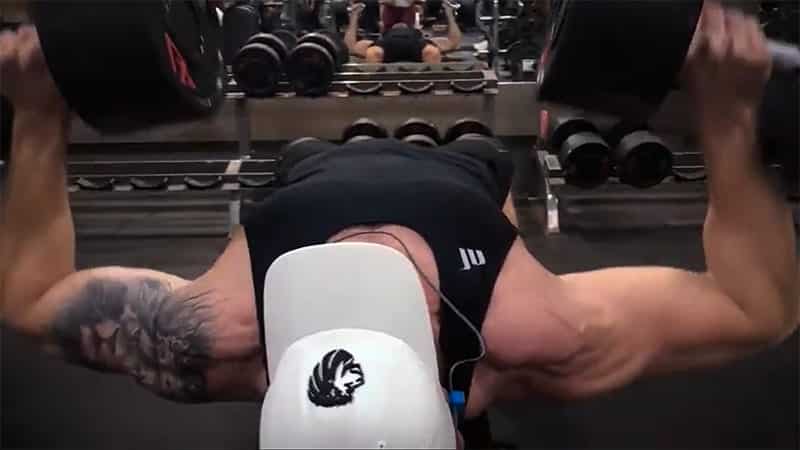
While you will have to lower the weight you're lifting with the dumbbells, you'll find that you are training the muscles more so than you would when using the bench press.
After all, you lose some of the leg drive that is inherent in a good bench, and the back arching that shortens the lift — both of which give you an advantage. Instead, with dumbbells, you are training the muscles and not so much the movement.
Complete Muscle Activation
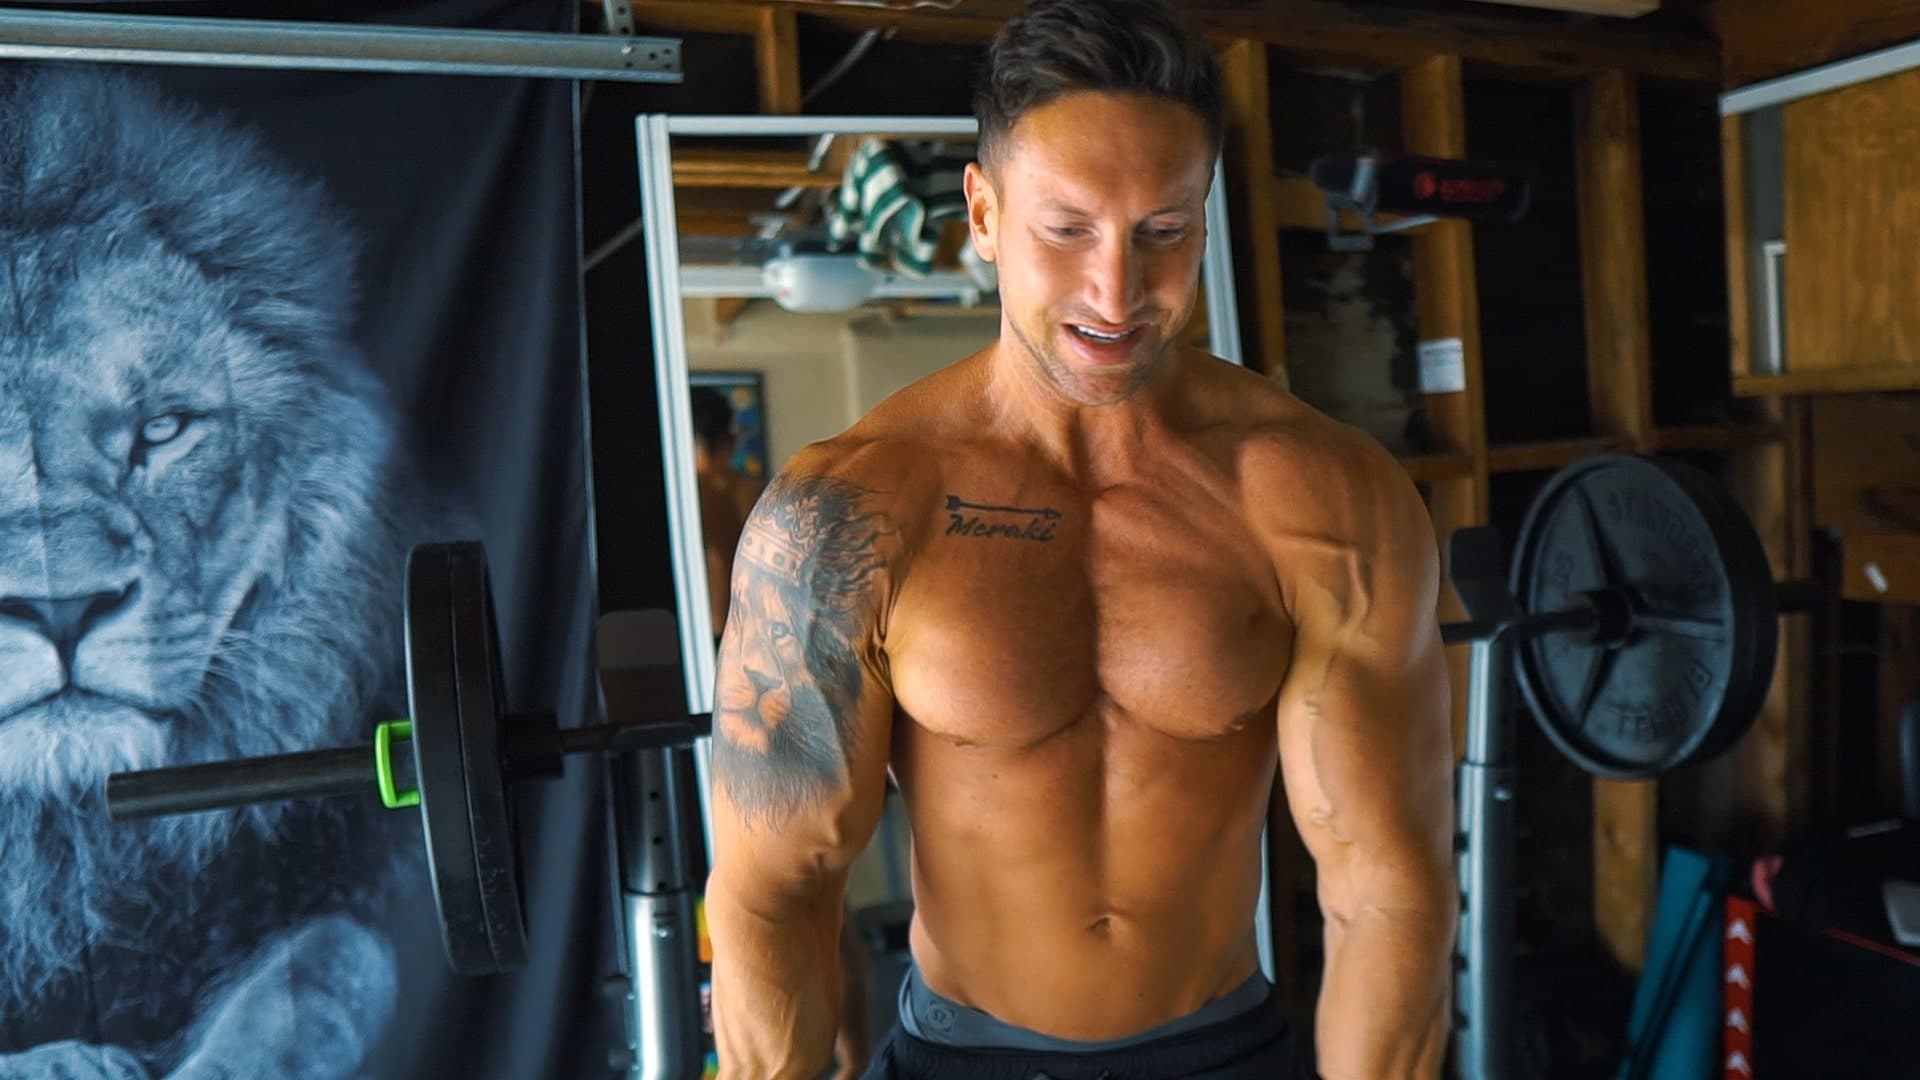
Most importantly for those who hit the bench purely to get jacked, the muscle activation in the chest (the target muscle) is no different than doing bench with a barbell. The amount of time the target muscles the pectoralis major and anterior deltoid are activated is also not statistically significant between the DB and BB bench, whereas the dumbbell fly lagged, relegating it to a secondary lift.
Enhanced Bicep Training

A study has shown, based on electromyography readings, that the biceps brachii is highly active when dumbbells are used during bench press exercises. The reason for this could include the instability of the exercise- a key factor in muscle recruitment.
Each exercise required more stability than the last, leading to increased muscle activation in the biceps brachii and other muscles.
Better Range Of Motion Than The Barbell Bench Press
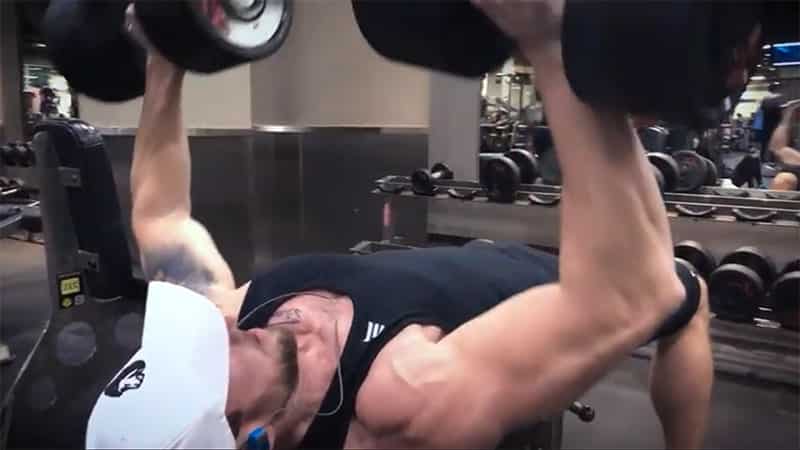
Barbells are great, but dumbbells do certain things better, including taking your muscles farther through a longer range of motion. This extra damage not only results in more growth, but it also makes the exercise more joint-friendly.
The flat bench press is a classic lift, but because there is no barbell anchored to your chest, you have more range of motion than you would with a barbell. This means that your chest gets more stretch, which means more muscle damage and thus bigger gains.
Improved Stability
The dumbbell bench press is just as effective as the barbell version because each arm can be worked independently, much like a single leg squat. The built-in instability of the dumbbell bench press challenges your muscles to fire more rapidly, strengthening joint stability and overall balance in the process.
Greater Strength
Performance athletes choose weight lifting over bodybuilding because they want to develop strength rather than size. For strength building, athletes should use heavier weights for lower reps. Tempos and ranges of motion can remain similar to hypertrophy training, although some positions might benefit from slow rep speeds and slower ranges of motion. To start, try three to five sets of five to eight reps using a very heavy load. Rest 90 seconds between sets.
More Endurance
Lifters who want to build muscle endurance should aim for between 20 and 30 repetitions in a set, with 2 to 3 minutes of rest between each set. This is a great way to build muscular endurance for sports that involve short bursts of force with little time for recovery, like football or basketball.
Muscles Worked By The Dumbbell Bench Press
The dumbbell bench press is an extremely effective movement for increasing upper body strength and muscle mass for both aesthetics and performance. Below are the key muscles stressed during the dumbbell bench press.
Pecs
The chest is the primary muscle group activated during the dumbbell bench press. With dumbbells, many lifters find that they can engage in a greater range of motion during the eccentric aspect of the lift. This lengthens and stretches the muscles in a way that isn't present during a barbell bench press.
Triceps
In the bench press, the triceps are critical for two things. The first is to stabilize the elbows during the initial descent of the dumbbells. Without stable elbows, there would be no way to press the dumbbells up. The second function of the triceps is to extend the elbows in a lockout at the top of the bench press movement.
Shoulders
The shoulders, or deltoids, have three separate muscles — the anterior (front), middle, and posterior (back). However, the primary movers are the anterior deltoid and the medial deltoid, which function to adduct (bring towards midline) and abduct (move away from the midline) the humerus (upper arm), and are most active during pressing movements like the bench press.
| #4 Low to High Cable Flys | |
|---|---|
| Target | Upper Chest |
| Sets | 3 |
| Reps | 15 reps/45 seconds under tension (metabolic stress) |
This exercise reverses the position you’re using with the cables and now rather than pushing down, you’re pulling up.
As you might imagine, that is going to change the nature of the stress being placed on the chest, putting more emphasis on the upper chest instead of the lower.
execution
- 1Stand in the middle of the cable machine
- 2Grab both lower pulleys and keep them to the sides of the hips
- 3Lift the handles up and contract the chest up top
- 4Go back down and repeat, alternating between arms – Left over right, right over left
| #5 Dumbbell Lateral Raise | |
|---|---|
| Target | Side Delts, Front Delts, Traps |
| Sets | 3 |
| Reps | 15 reps/45 seconds under tension (metabolic stress) |
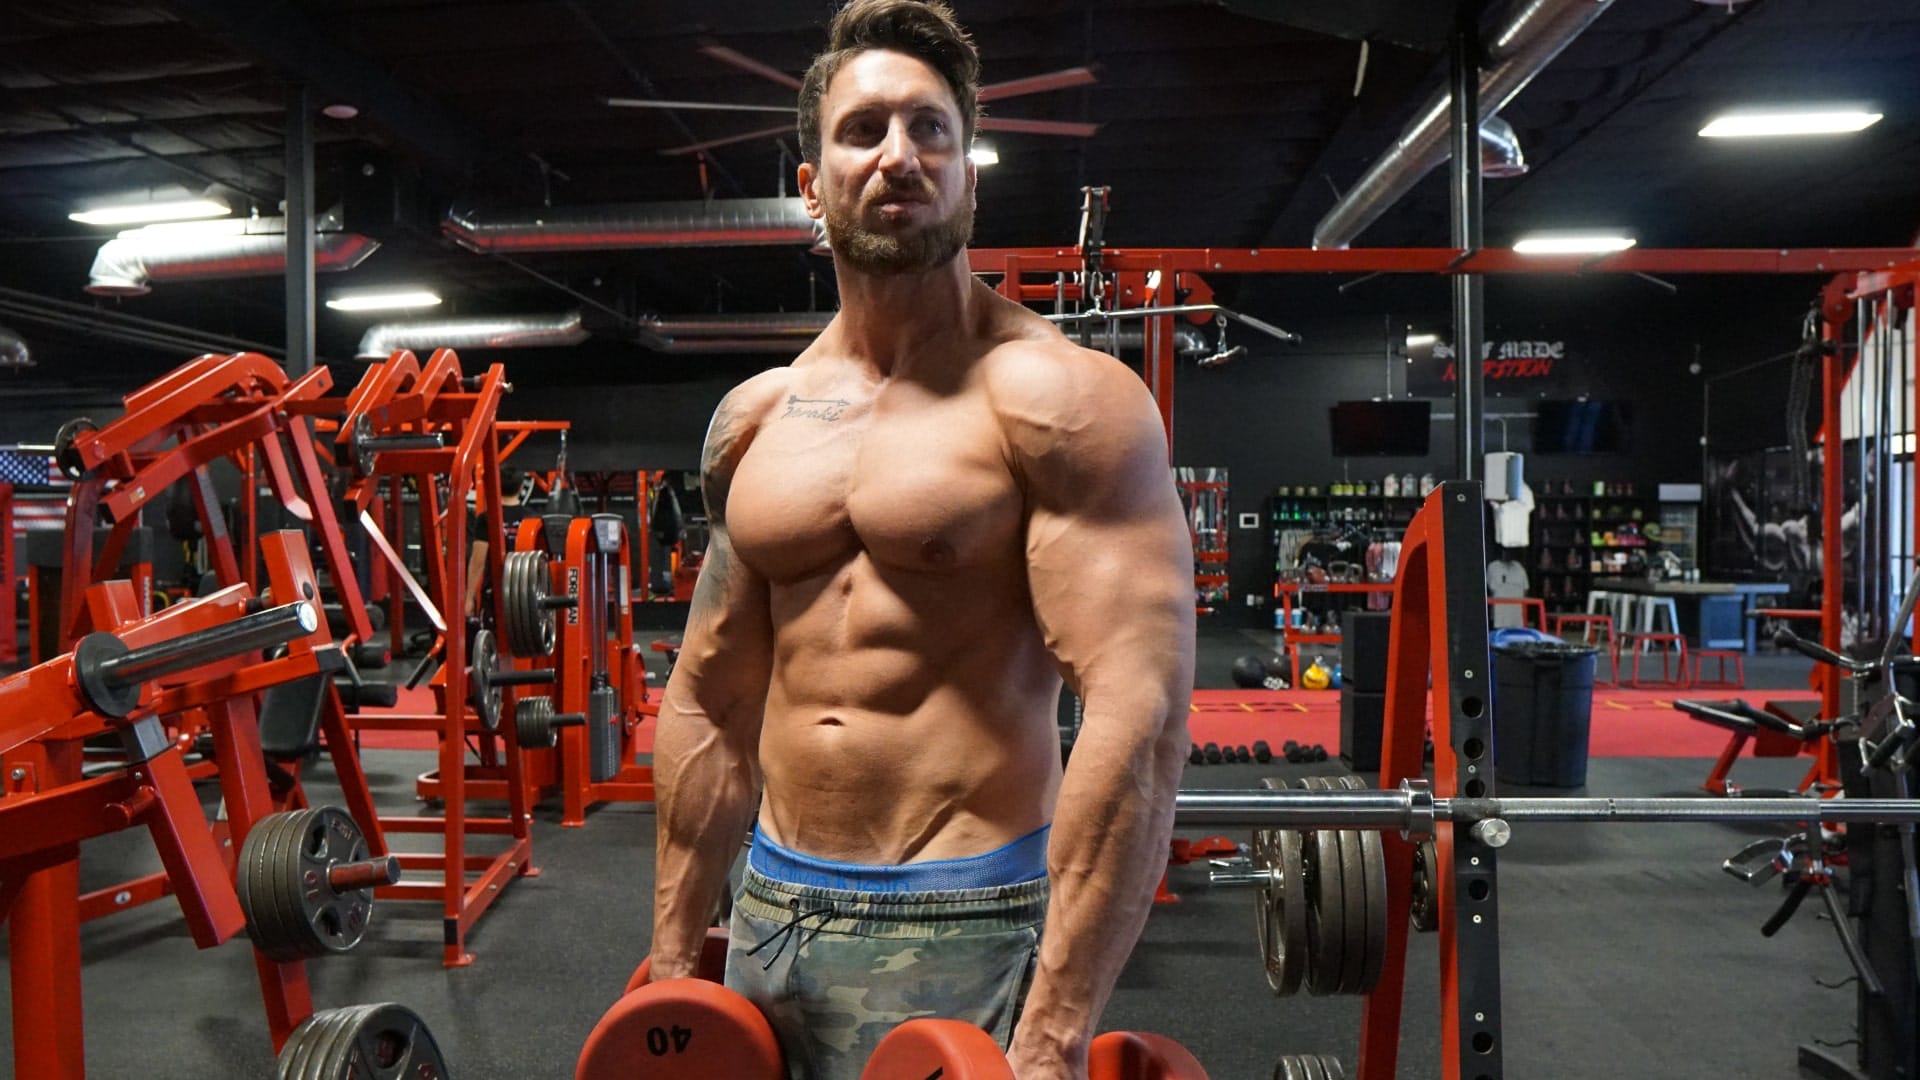
If you want wide shoulders, you have got to be doing the dumbbell lateral raise. This is the single best exercise to hit the lateral deltoid head. That's the side delt that is responsible for shoulder width. In this article, we benefit from the training experience of the Godfather of Bodybuilding, Charles Glass, to learn the optimized technique that will allow you to get the maximum benefits from the dumbbell lateral raise.
Dumbbell Lateral Raise Execution
- 1Stand with your back straight, your knees slightly bent and your feet slightly less than shoulder width apart. Keep your upper body erect and your elbows slightly flexed throughout the entire movement.
- 2Grab a pair of dumbbells using an overhand grip and the palms facing each other. Hold them together about 6 inches in front of your hips.
- 3Keeping your elbows slightly bent, raise your arms out to the side in an arc toward the ceiling until your arms are parallel to the floor.
- 4Slowly lower the dumbbells to the start position.
Charles Glass's Optimized Dumbbell Lateral Raise Tips
Dumbbell Lateral Raise Benefits
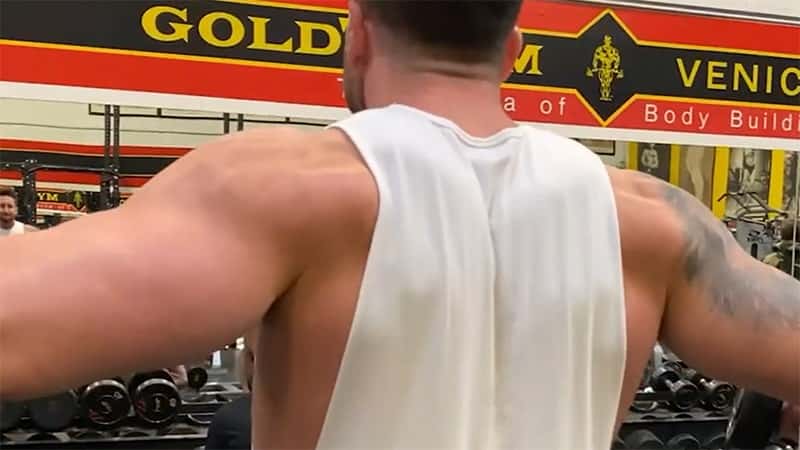
The dumbbell lateral raise allows you to specifically isolate the medial head of the deltoids. Doing so will allow you to develop width to your shoulders. The shoulders are a unique muscle group in that they are made up of three heads with different origin and insertion points to their muscle fibers. This is very different from a muscle like the triceps, which also has three heads but that all have the same muscle fiber origin and insertion points.
That means that you will need to do different exercises to hit the different heads of the deltoids. However, because they have the same origin and insertion points, you cannot isolate the three heads of the delts. The lateral raise is the perfect exercise to work the side delts because it exactly follows the natural anatomical movement of the medial, or lateral, deltoid head.
Best Way to Work the Lateral Delts
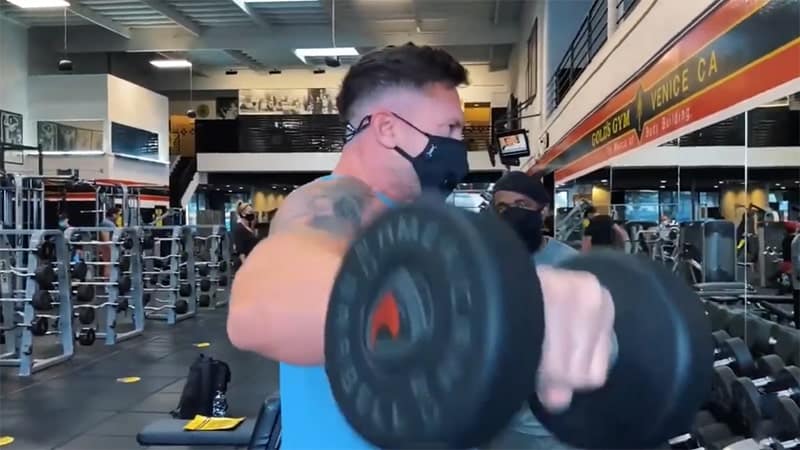
The lateral deltoids do one thing and one thing only; they raise the arm out to the side to the point where they are perpendicular to the torso. It is at this point that the muscle is fully contracted. If you go higher than that, you will be compromising the shoulder joint for no benefit whatsoever. The obvious exercise that aligns with that movement is the lateral raise. The most common way to perform the lateral raise is with dumbbells. Yet, the dumbbell lateral raise is not the best option when it comes to maximizing the growth of the lateral deltoid.
While it does provide you with an ideal movement (so long as you do not raise the arms above perpendicular), the direction of the resistance is not ideal.
Because you are holding a dumbbell in each hand, the direction of resistance is straight down as a result of gravity. Because your arms are parallel with your body at the start of the exercise, there is very little resistance during the first third of the exercise. As the dumbbells get close to parallel with the ground, the resistance progressively increases. As a result, we can classify the dumbbell lateral raise as being late phase loaded. That means that it is easier at the beginning and harder at the end.
All muscles are stronger when they are elongated and weaker when they are contracted. As a result, the ideal resistance curve for any exercise is early phase loaded, where the exercise is harder at the beginning of the movement and easier at the end. This is the exact opposite to what you get with the dumbbell lateral raise.
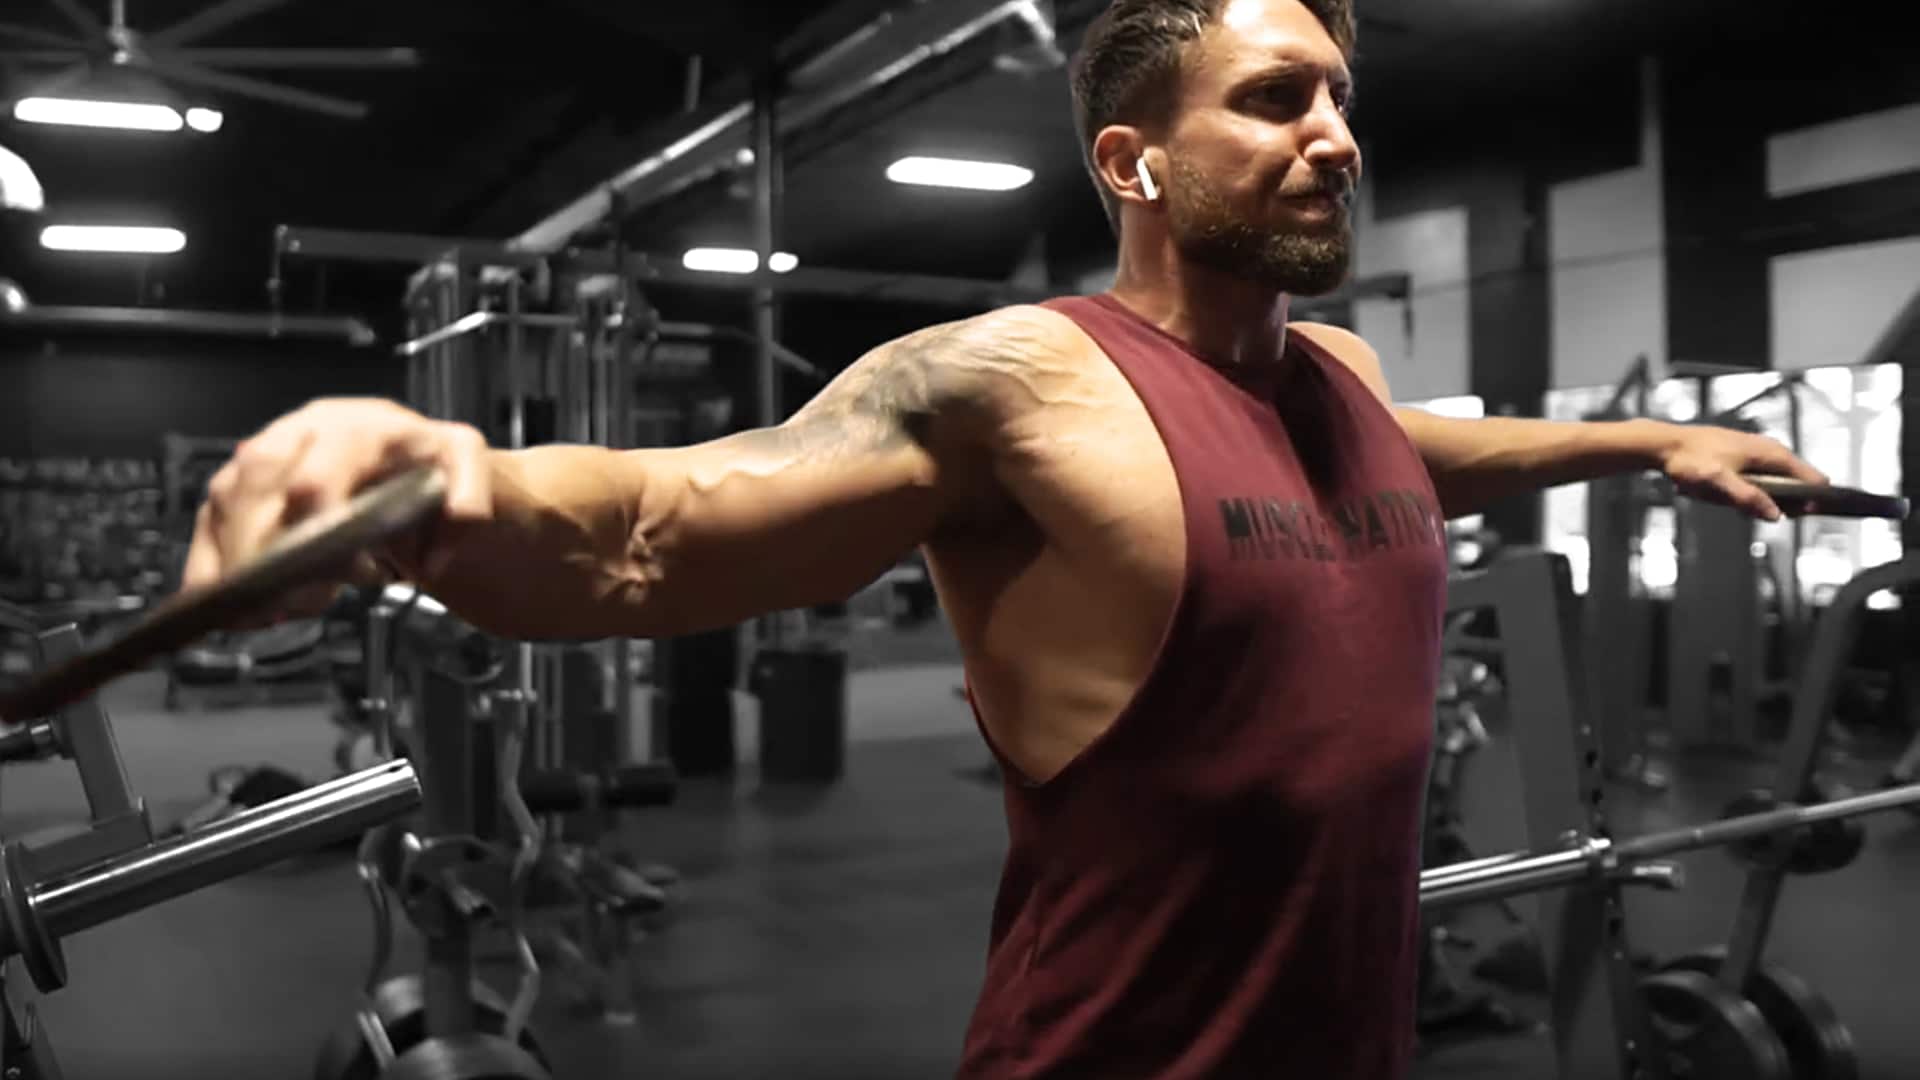
What we need is a version of lateral raises that provides early phase loading, so that you get more resistance at the start of the exercise and less resistance at the end of it. The best exercise to achieve this is the standing side cable raise. When you use a cable machine, the operating lever of the exercise (your arm) is no longer parallel to the resistance. Instead, it is perpendicular. This makes the exercise harder at the beginning and easier at the end (try it and see!).
Yet, even at the top of the movement, when the arm is perpendicular to the torso, there is still about 40 percent of the starting resistance. Contrast that to the dumbbell version which has zero resistance in the starting position of the movement.
Another advantage of doing the cable version of the lateral raise is that you can work each limb independently. This allows you to establish a stronger mind-muscle connection with each side of the muscle. When you do the exercise, stand side on to the cable with your feet shoulder width apart.
When you set up for the standing one arm side cable raise, make sure to set the pulley at the level of your wrist at the starting position. Doing so puts the cable in a perpendicular position to the forearm when you start, maximizing the potential for early phase loading.
For the reasons given, the standing side cable raise is the only exercise that you need to do to fully develop the lateral deltoids.
Complementary Shoulder Exercises
The lateral raise is the only exercise that you need to do for your lateral deltoids. As explained in the section above, the cable version is superior to the dumbbell version. Of course, some people, especially those who train at home, may not have access to a cable pulley machine. Be sure to do either the dumbbell or the cable version of the side lateral raise with every workout.
When you are training your shoulders, think of doing one exercise for each of the three heads. Having established that your side lateral movement is going to be a version of the lateral raise, here are some options for the other two heads.
Anterior (Front) Deltoid Head
Seated Front Deltoid Cable Press
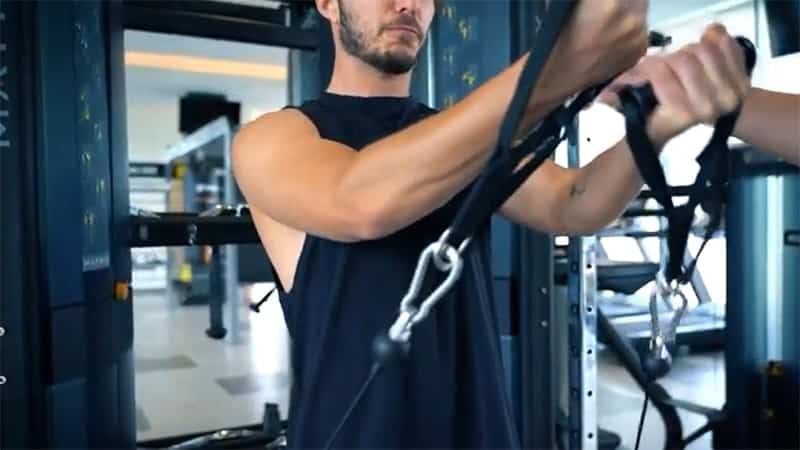
- 1Position a bench with an upright back support about three feet in front of a double pulley cable machine facing away from it.
- 2Set the pulley to be in line with your shoulders when you are seated.
- 3Grab the handles and sit on the seat with an underhand grip so that your palms are facing upward.
- 4In the start position your hands should be at your sides and your elbows behind the torso.
- 5Now, push your arms from and up in a slightly arcing motion to bring them together in line with your sternum.
- 6Lower under control and repeat.
Standing Front Dumbbell Raise
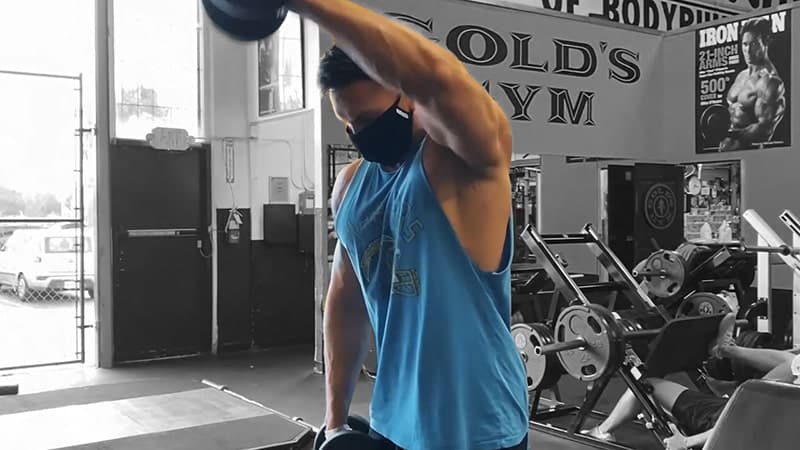
- 1Stand with your back straight, your upper body upright, your knees slightly bent and your feet slightly less than shoulder width apart.
- 2Grab a pair of dumbbells using an overhand grip with your palms facing downward. Allow your arms to hang straight down at your sides, with the dumbbells held around four inches from your thighs.
- 3Keeping your elbows bent throughout the entire movement, raise the right dumbbell from upper thigh level to eye level. Hold for a second and then lower to the start position under control.
- 4Repeat the movement with the left dumbbell, and continue alternating right and left until the desired number of reps have been completed.
Seated Front Dumbbell Press
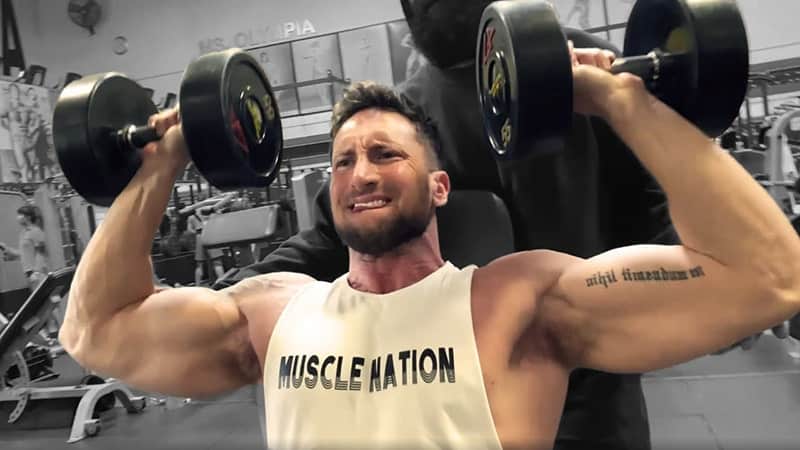
- 1Grab a pair of dumbbells using an overhand grip and sit down on an upright bench.
- 2Bring the dumbbells up to shoulder level.
- 3Rotate your palms so they are facing forward.
- 4Slowly push the dumbbells directly upward until they touch each other at straight arm's length, and then slowly return the dumbbells to the starting position. Do not lock out your elbows at the top of the movement.
Posterior (Rear) Deltoid Head
Reverse Cable Crossover
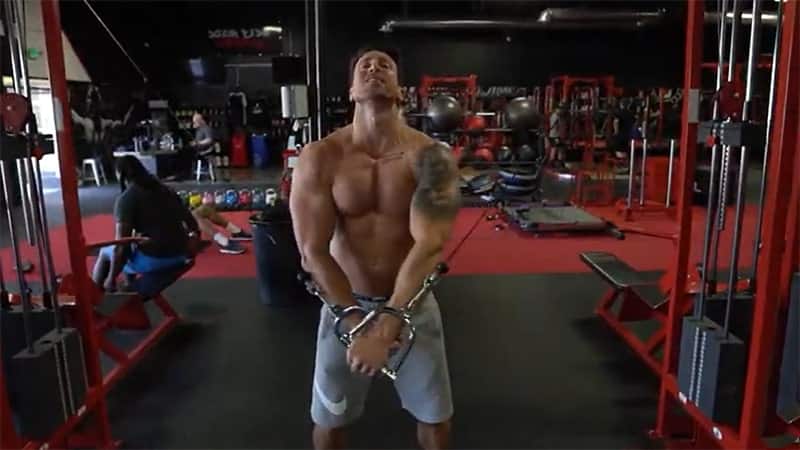
- 1Set the pulleys on a cable crossover machine to the level of your shoulders.
- 2Remove the handles from the ends of the cables.
- 3Set the appropriate pin selector weight.
- 4Grab the cables in cross over fashion in an overhand grip, with your palms down.
- 5Stand in the middle of the cable crossover machine with your hands crossed over at the level of your navel.
- 6Extend your arms back and down to full extension.
- 7Slowly return to the start position and repeat.
Siting Bent Dumbbell Lateral Raise
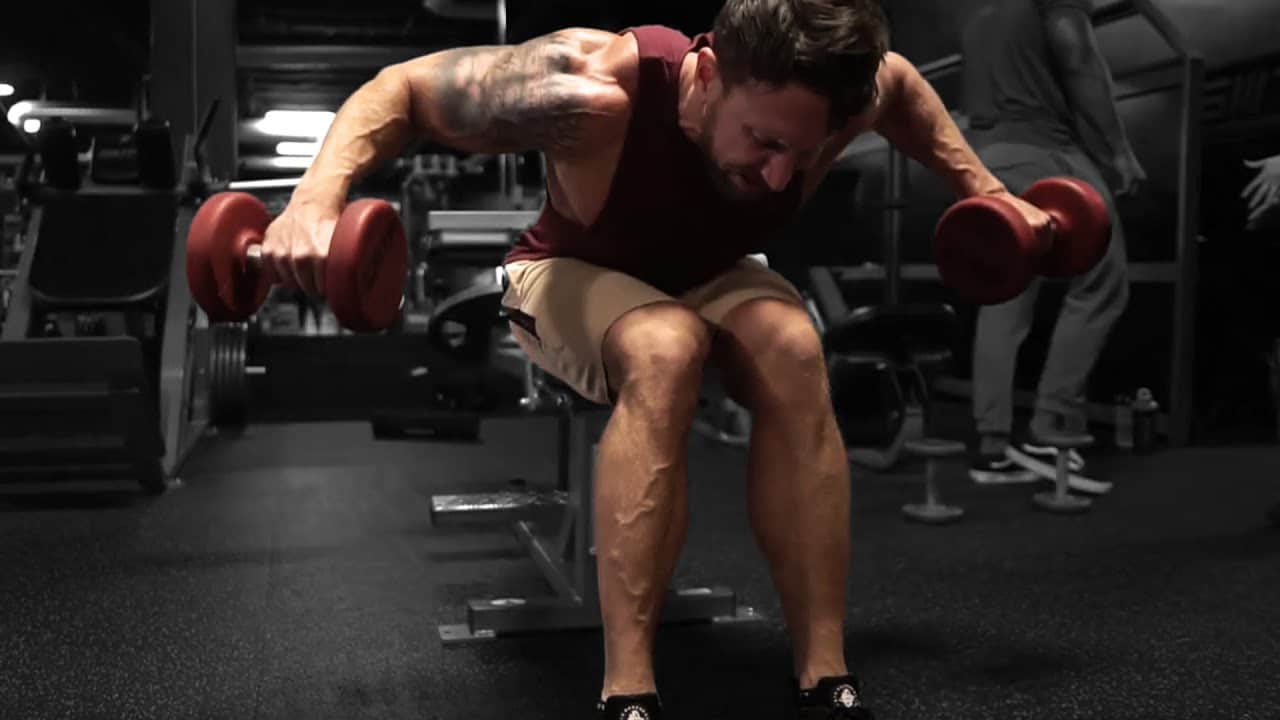
- 1Sit on a bench with your upper body straight and feet shoulder width apart.
- 2Take hold of a pair of dumbbells using an overhand grip, with palms facing each other.
- 3Bend at the hips until your back is parallel to the floor and your arms are hanging down in an extended position, so that your arms are perpendicular to the floor.
- 4Keeping your elbows a little bent, raise the dumbbells laterally in arcing motion until your arms are parallel to the floor.
- 5Slowly lower the dumbbells to the start position.
#6 Tricep Pressdown
Sets | 3 |
Reps | 15 reps/45 seconds under tension (metabolic stress) |
As you can see, a Balloon Method workout is not only more intense but more fun because you get to try several different intensity techniques in the same workout, which will increase your motivation to train more often and see faster results.
How to use the Balloon Method for the fastest results?
The best way to incorporate the Balloon Method is to use it all year long regardless if your goal is to build muscle fast, recomp and get ripped, or burn fat aggressively.
The SuperHuman Muscle program uses the Balloon Method workouts in a way that helps you build muscle as fast as possible, while the SuperHuman Fat Loss program uses the Balloon Method with HIIT finishers to shred fat at Superhuman Speed!
Balloon Method workout benefits for fat loss
- 1Burn more calories every workout.
- 2Increase your post workout metabolism.
- 3Keep your hard earned muscle mass even when you are dieting.
- 4Can shock your muscles into growth even in a calorie deficit.

